With the release of the StoreVirtual 3200 some time ago, HPE released a completely new product leaving all procedures and best practices behind.
Therefore, this is a good moment to try out this new storage system and check out its deployment.
First we look for the latest version of the manuals which can be found here:
http://www.hpe.com/info/StoreVirtual3200Manuals
You’ll find various guides like the installation, user, management console and software update guide.
Installation:
Each controller in the system has a dedicated MGMT management and 2 1GbE ports. Depending of your system there may be 2 additional 1GbE or 10GbE ports or 2 FC ports.
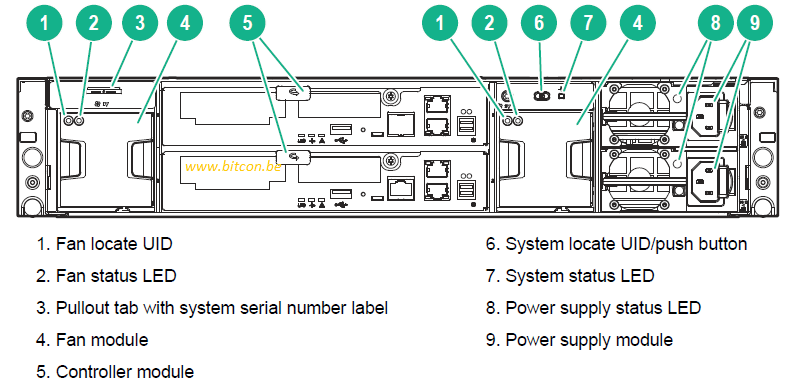
The initial deployment of the system is done through the MGMT port. So be sure both ports are cabled.
The management PC from where you want to do the initial configuration must have a dedicated IP address 172.16.253.205 with subnet mask 255.255.255.248. Don’t try 172.16.253.1 or similar like I did, with the too narrow subnet mask you won’t get access to the console.
From there you can connect to the default IP address 172.16.253.201 from controller 1. You will get following home page:
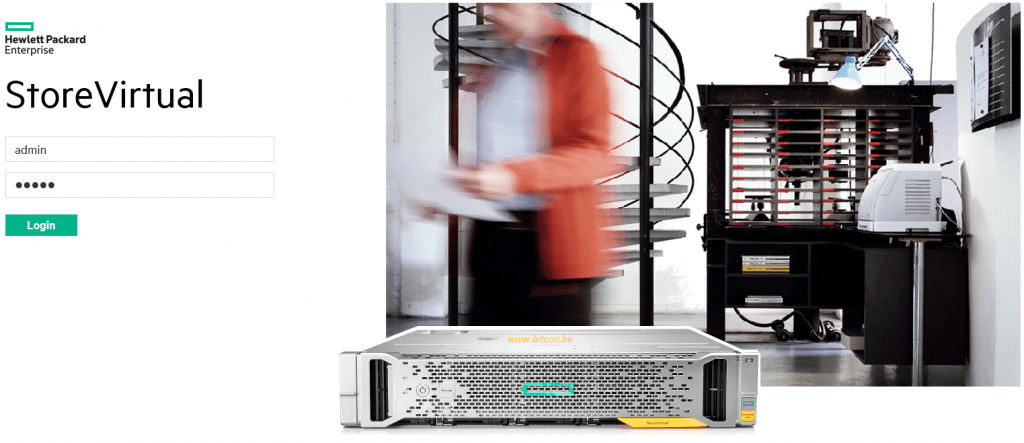
Enter admin as the username and password to log in.

Since this is an uninitialized system you will get a big green button to do the initial configuration. In the grey box at the right of the screen you find all steps that will be executed.
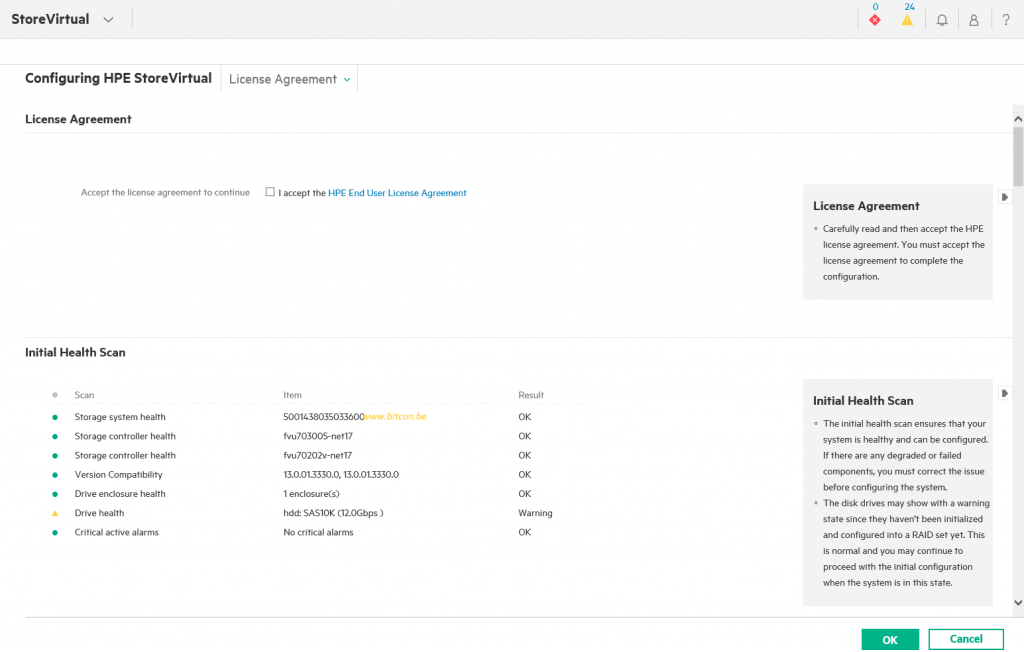
First accept the license agreement.
Verify that the initial health scan is all OK (green). Strange is that the drive health in my case is yellow instead of green since all disks are healthy. Checking the Active Alarms at the top right of the screen tells me that this message is normal since all disks are Uninitialized, which is normal with a new system.

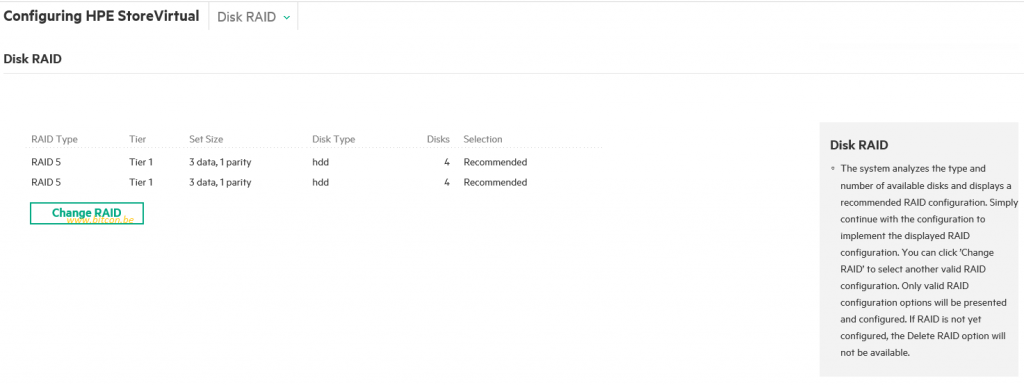
Next is the disk configuration. The wizard proposes a recommended configuration based on best practices. In my system are 8 disks which results in 2 RAID5 sets of 4 disks meaning a 3+1 set.
You have the possibility to change the RAID configuration to your own needs. Do this via the ‘Change RAID’ button.
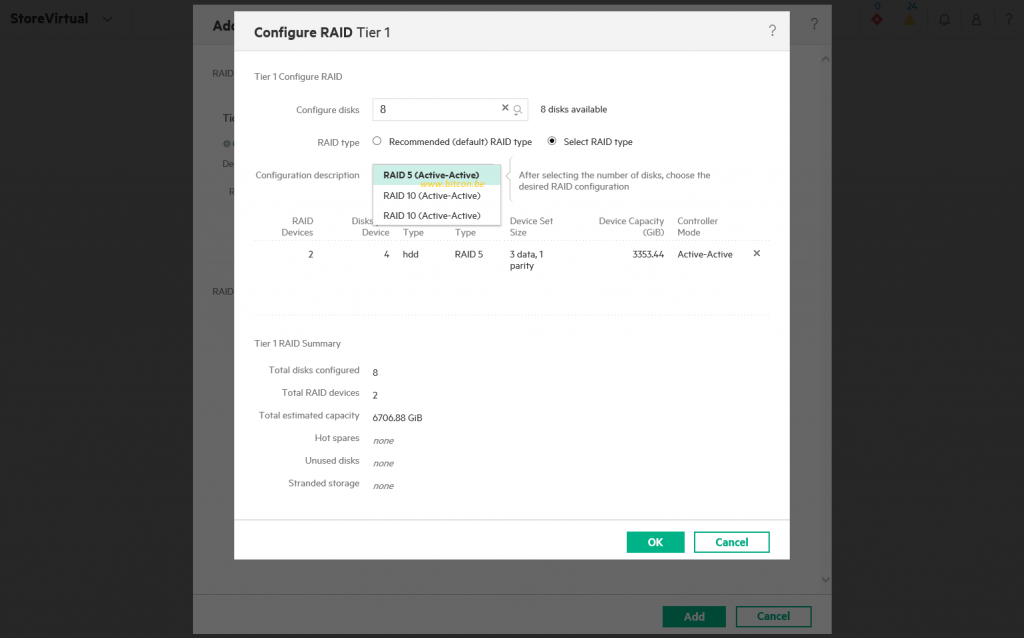
Configuration options are not endless; you will get more options depending on the number of disks you have in the system…
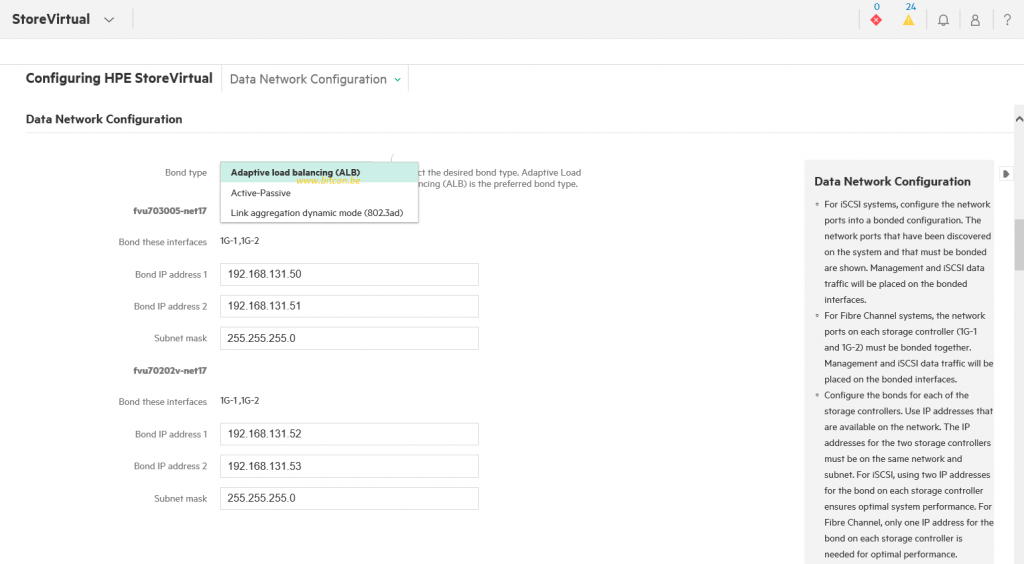
Next are the network settings. Both 1GbE interfaces per controller can be configured as a bond with Adaptive Load Balancing. Other options are possible. Remember that for Link aggregation dynamic mode you need to configure the network ports on switch side to make this work. Therefore ALB is a popular configuration since no switch changes are needed.
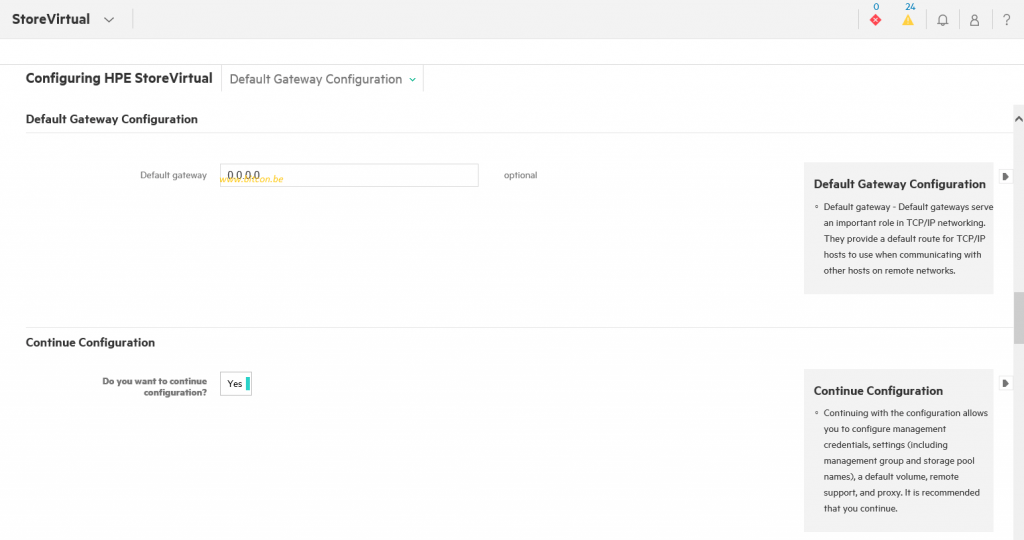
Next option is the Default Gateway for the iSCSI interfaces.
For some kind of reason, you have the option now to continue the configuration or configure the box straight away with the configuration options entered above. Due to my curiosity I continue…
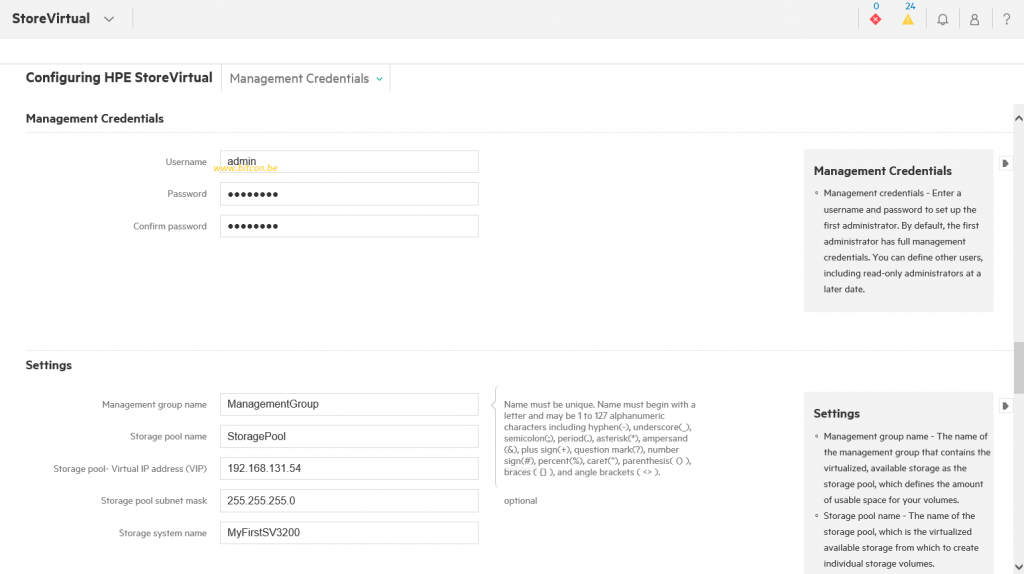
Enter the appropriate information for the management credentials and various other settings like Management Group, Storage Pool, System Name and an optional VIP iSCSI address.
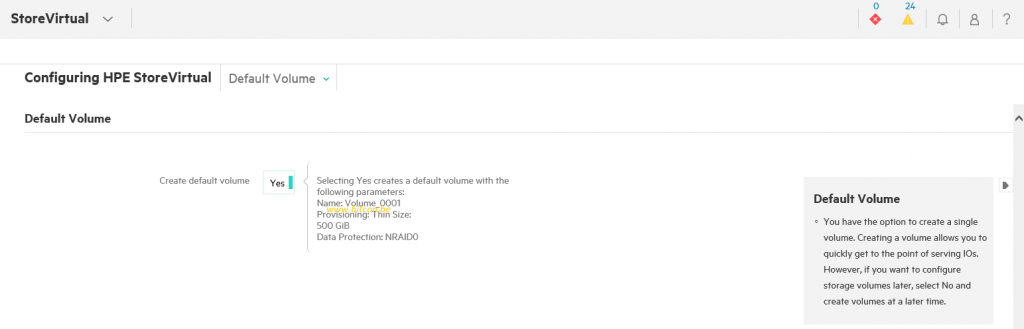
By selecting Yes, the system will create a default volume of 500GB in NetworkRAID 0. Default is No.
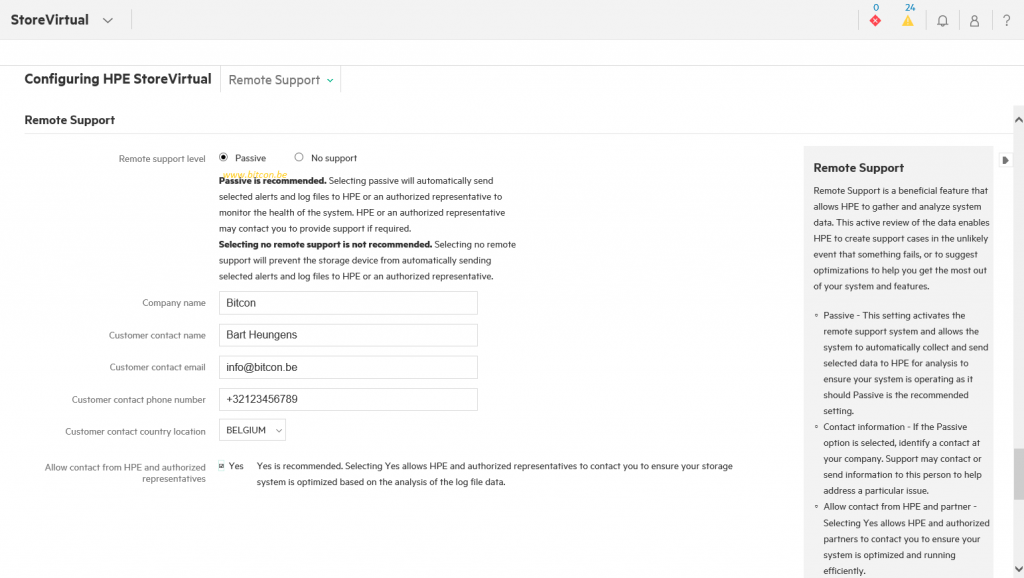
Enter all appropriate information for Remote Support so HPE Support can contact you in case of issues.
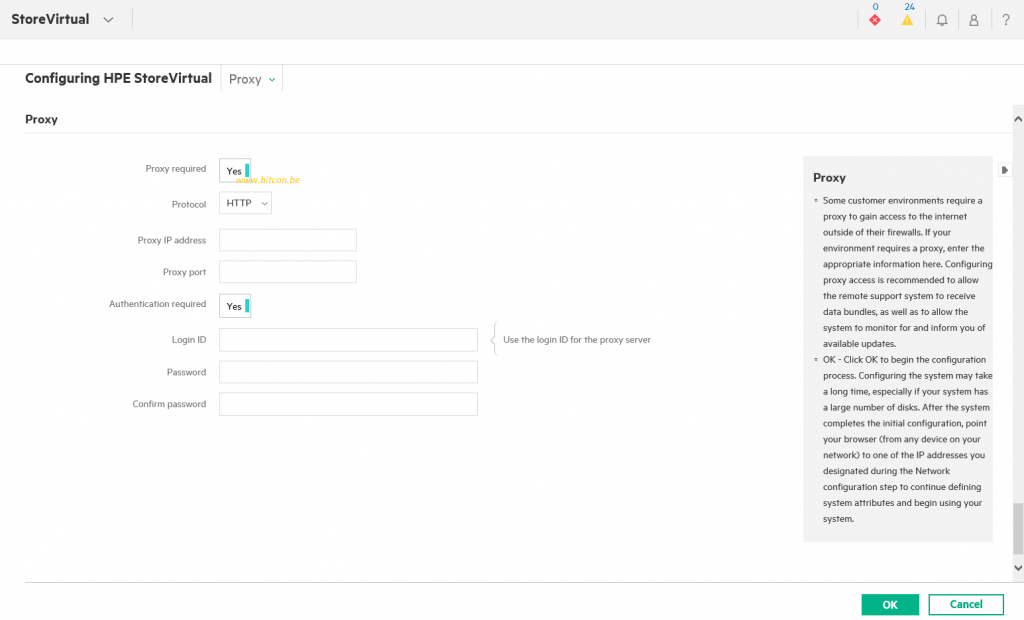
Final setting is the need for a proxy if this is needed to get internet access on the system for remote support and/or software updates check.
When all the information is entered you hit the OK button.
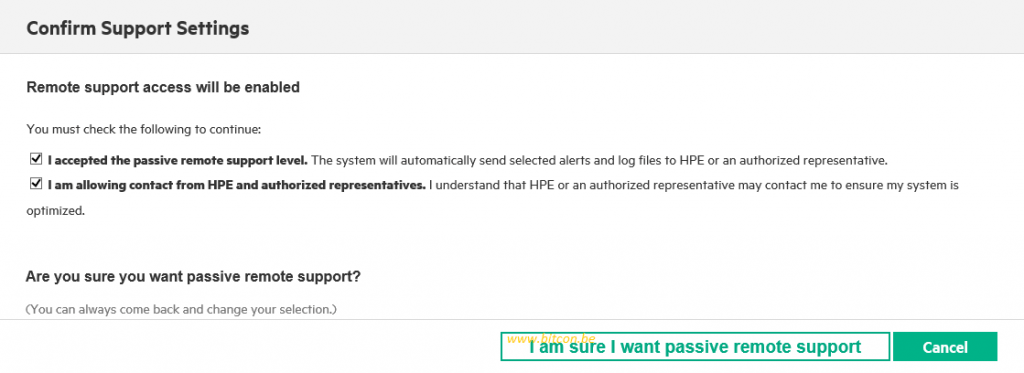
There is an additional check for the need of Remote Support. Confirm this screen to move on and deploy the system.
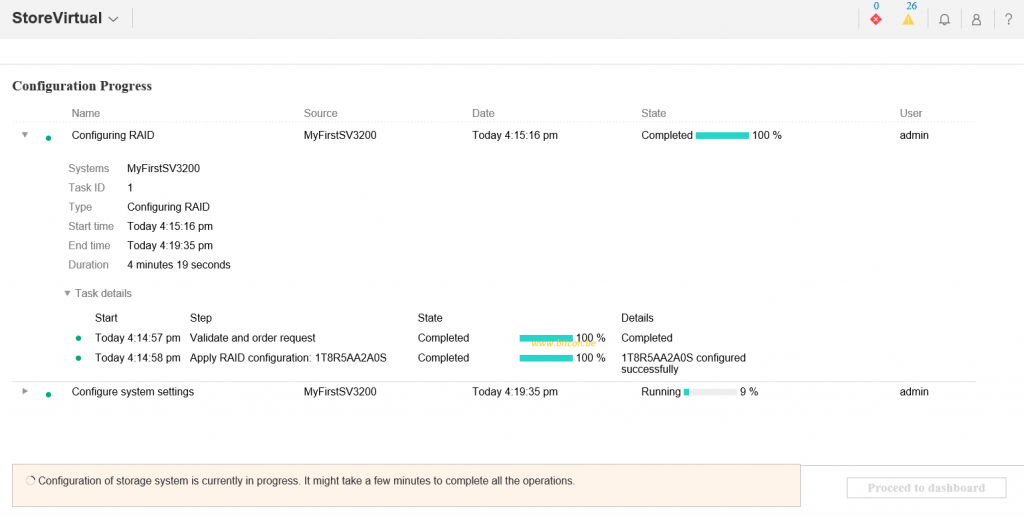
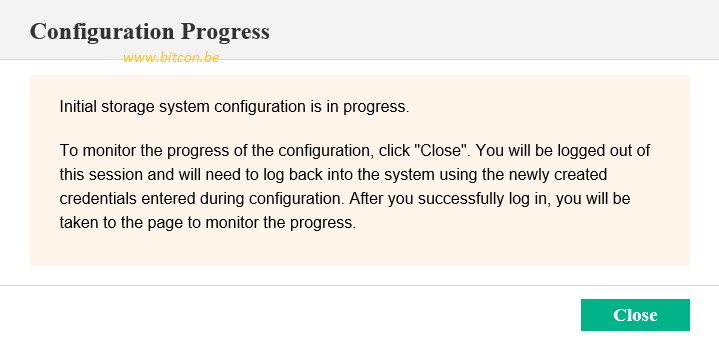
After logging in again (with the new credentials) you will go to the final configuration screen.
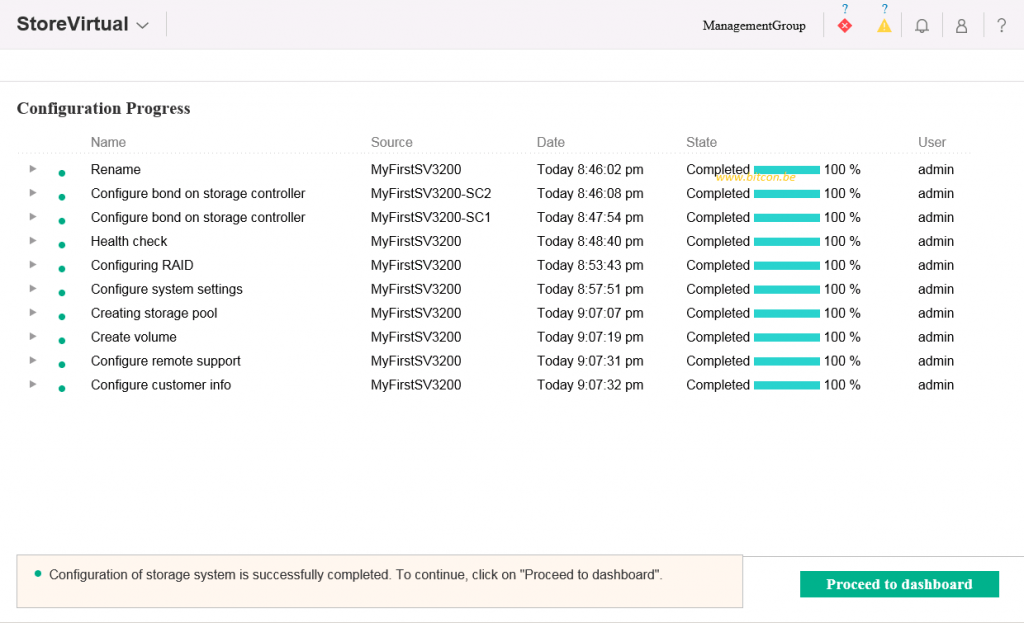
Now you have a fully configured StoreVirtual 3200 system.
When you go to the dashboard you will see some alarms on email configuration which is not configured yet and some parity background tasks that are running on the newly created RAID sets…
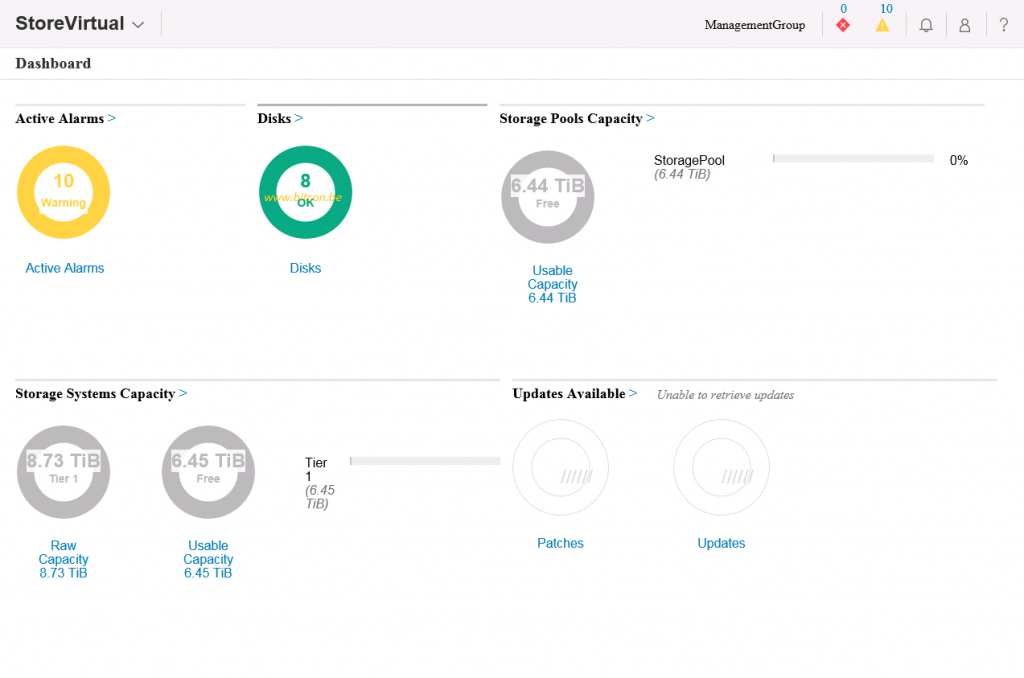
Since I selected the option to create a volume during the installation wizard you will find this volume created as well:
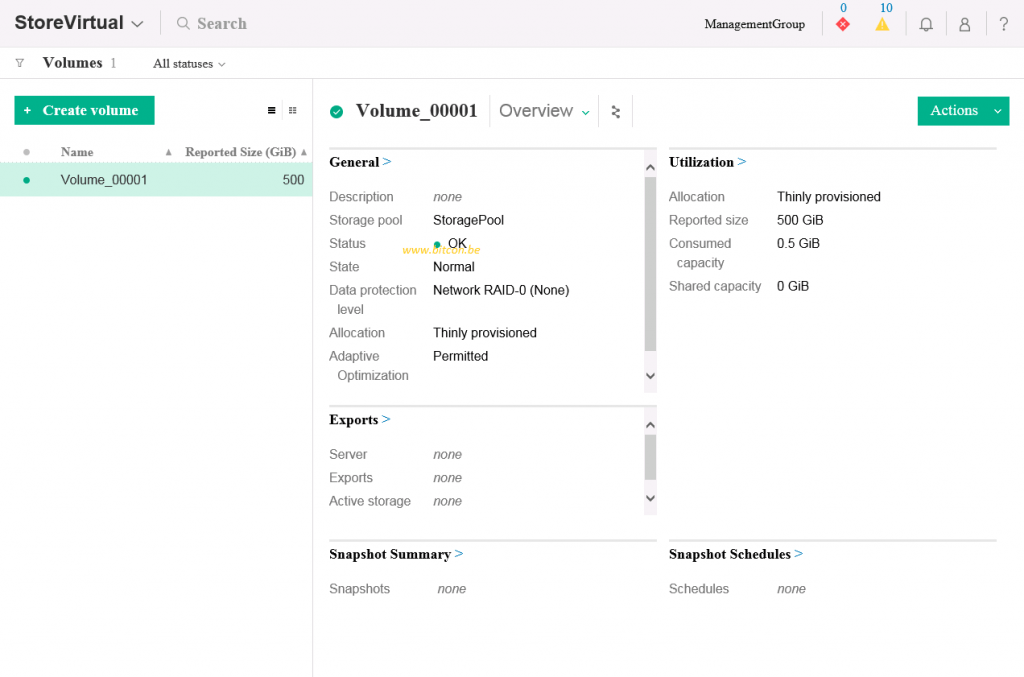
This concludes the deployment and initial configuration of the StoreVirtual 3200.
Be social and share!