Yes they can apparently… Find the proof below.
A few months ago I wrote already about the release of the HP StoreVirtual CS200-HC (what’s in a name?) hyper-converged system that combines 4 servers and with shared storage (SAN) in a single 2U box.
I received 3 of these systems from HP to organize some training sessions for my customer TechData in Belgium on this new style of IT (according to HP). First session was a success, others are scheduled the upcoming weeks.
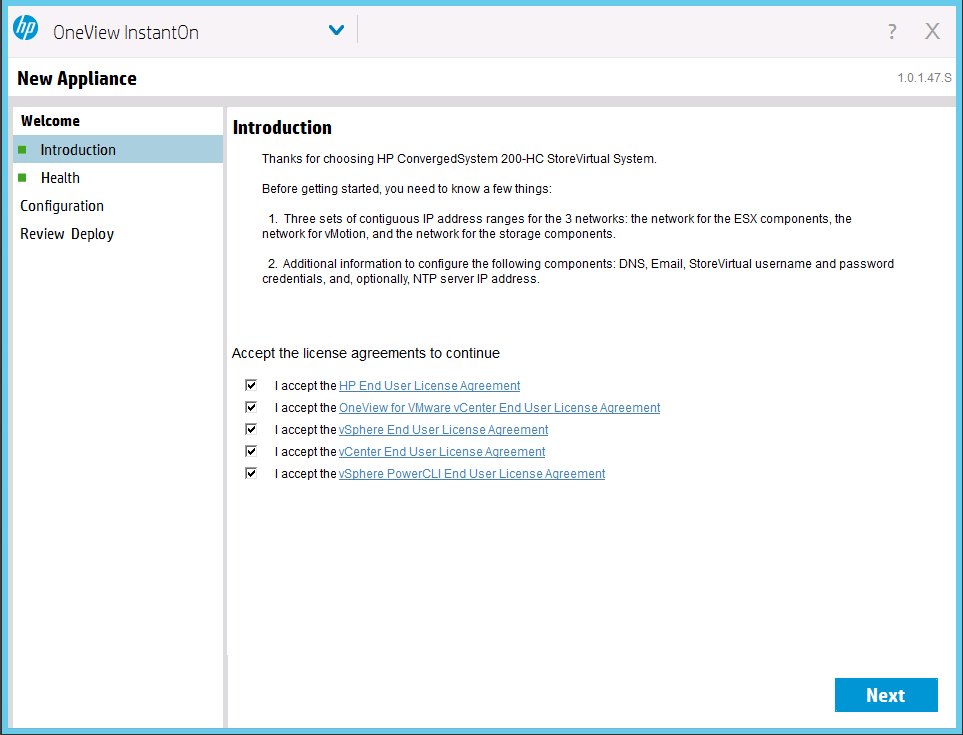
Of course I wanted to check all the points that HP is stating on their website. Can they really deploy a full system including vCenter and ready to host more than 100 VM’s in less than 15 minutes? Lets check it out! Oh yeah start finding already 23 IP addresses, you will need them later… 😉
Unboxing
First remark: this is a heavy box. Heavier than a DL380 or similar 2U server.
This must be because of the fact that it is a 2U housing but with 4 independent (blade type) servers in there (see further)

Besides the typical rail kit for rack installation we find an envelope with all useful information like licenses and Read This First documentation.
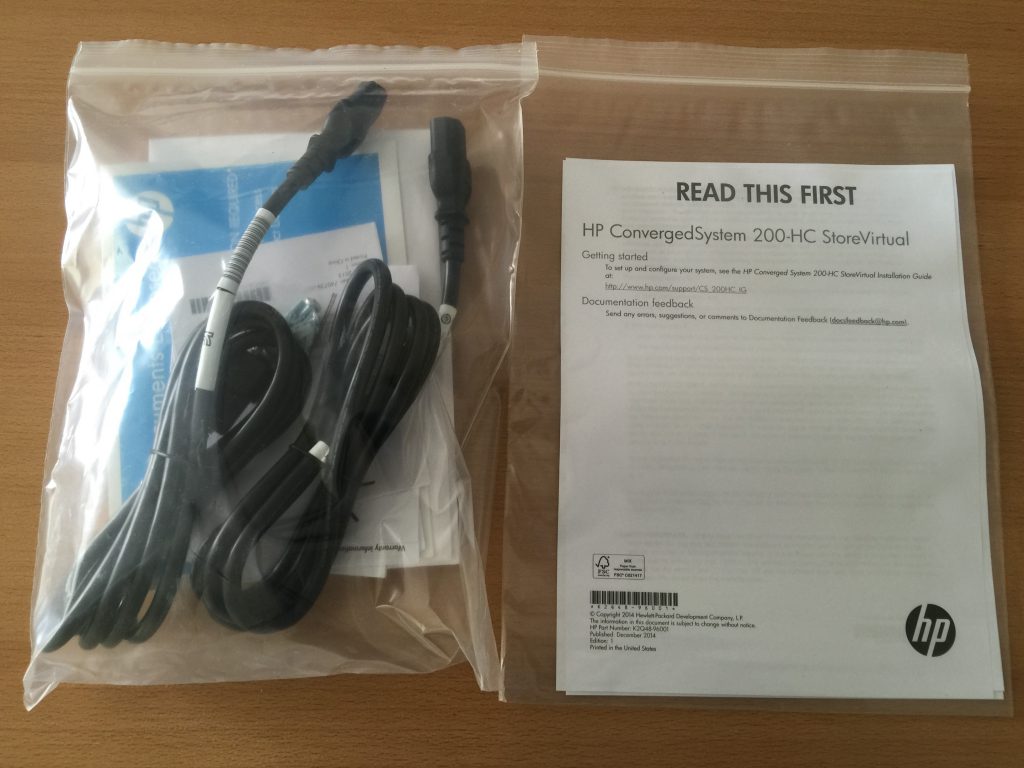
Appears that all information (the actual Installation Guide) can be found online on this URL: www.hp.com/support/CS_200HC_IG
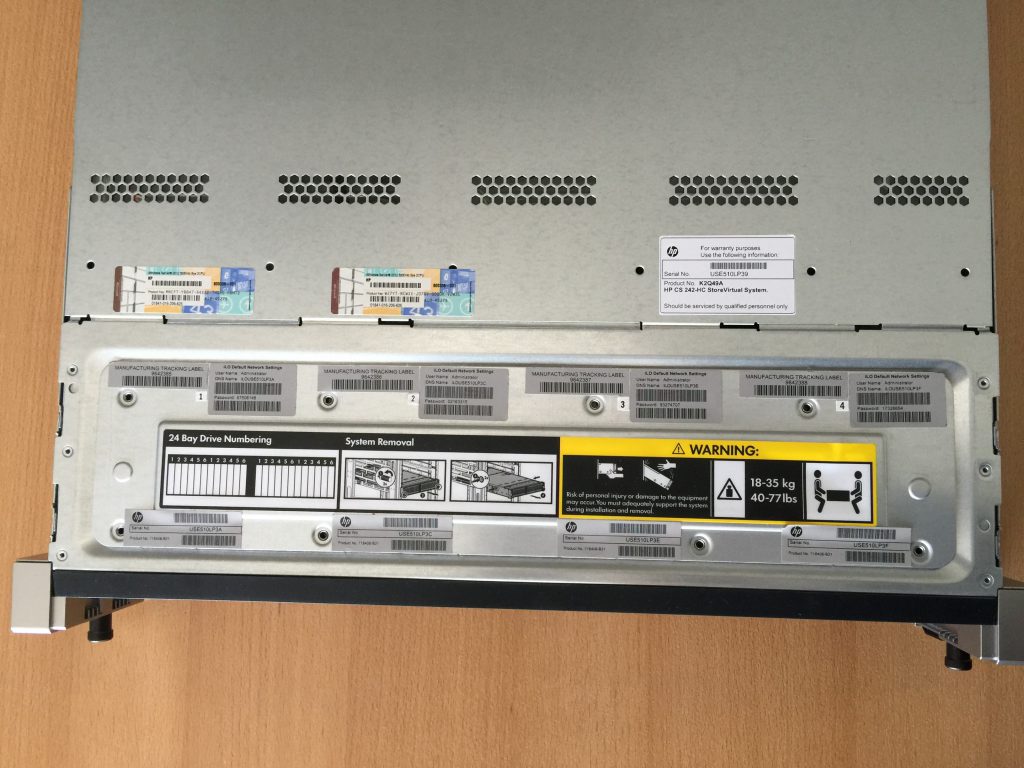
The front of the system holds the 24 disks (depending of the model 24 SAS disks or 16 SAS disks with 8 SSD’s for the performance model) that are connected in groups of 6 to each of the 4 server nodes.
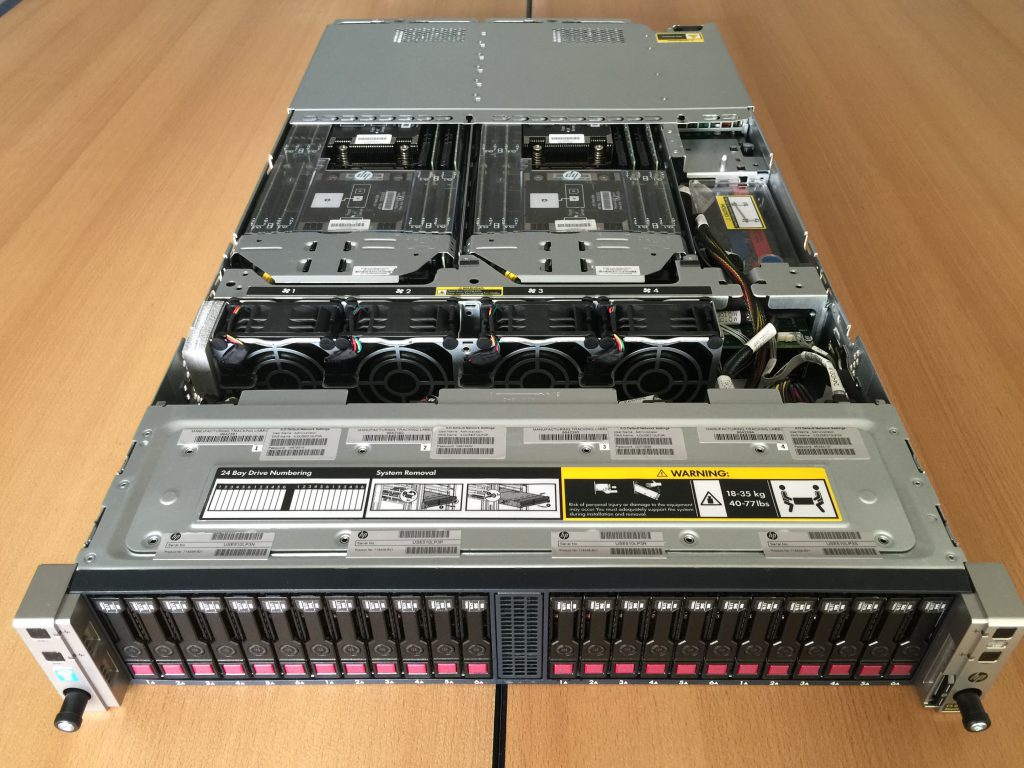
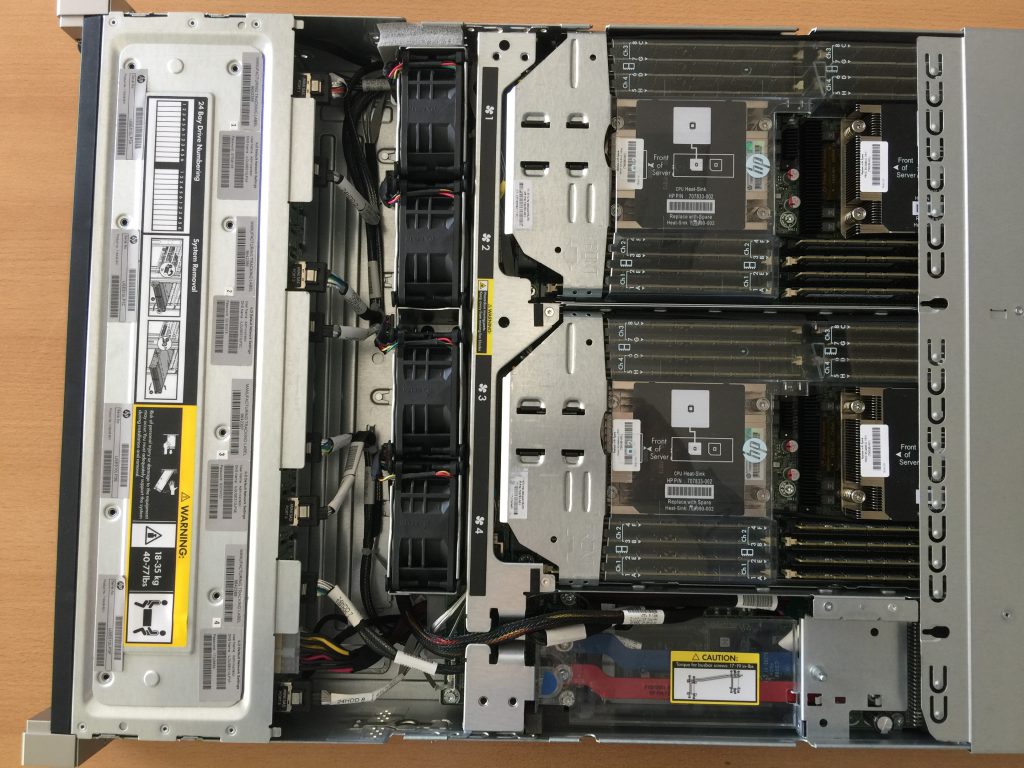
At the back of the server you can see clearly the 4 independent server nodes:

Since this is a HP Proliant SL2500 chassis every node has 2 x 1GB onboard, which are clearly indicated as ‘do not use) by putting little plastic dummy connectors in there. Because every node has an additional dual 10Gb card inserted as well for all communications. Since it is a Proliant server there is as well a dedicated ILO port in each node.
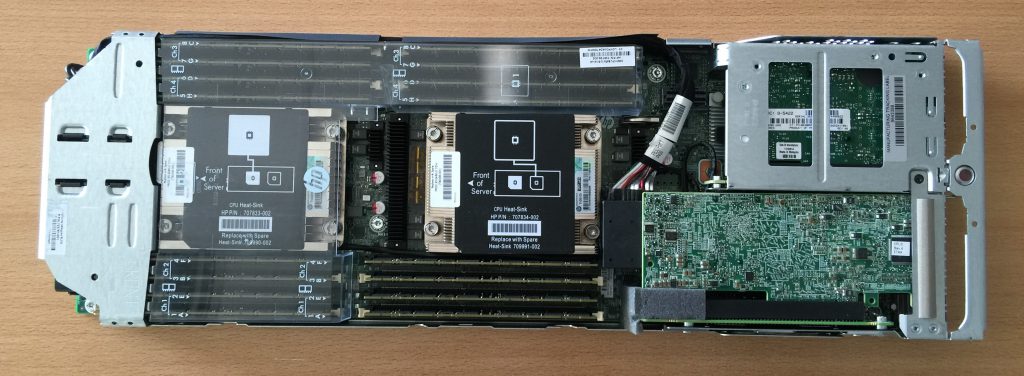
When we remove one of the server nodes we see that it is a really nice piece of hardware, quite full but well designed. This is a picture of the performance model so we see the maximum of 16 DIMM’s of 16GB being 1TB of memory in 1 CS200-HC system. Nice!
Finally on the top of the chassis we find all information to get the system started like ILO passwords of the 4 nodes and system ID’s. Notice also the Windows license of the management VM build in (see further).
Installation
After having connected the required power (2) and network cables (8 x 10Gb) there is a specific procedure to follow for the system setup.
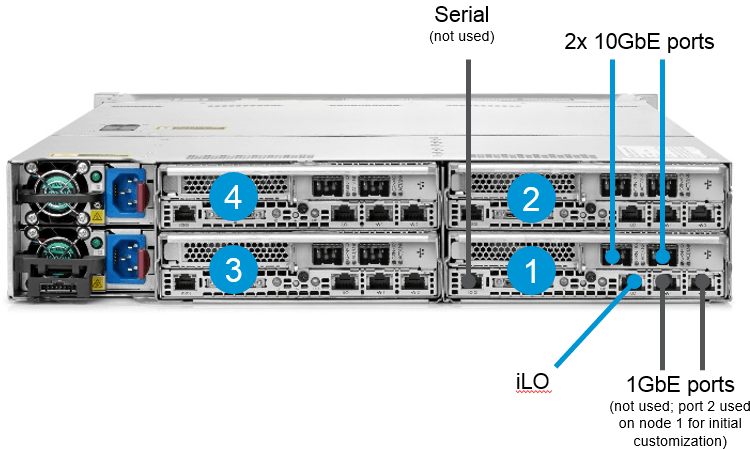
On node 1 (bottom right at the back of the chassis) you need to connect a 1Gb cable from your laptop to this connector, just for the deployment. Afterwards this port will not be functional anymore.
The system is pre-build with ESXi running and 1 Windows management VM on server 1 that will run vCenter as well. For the initial deployment we will need to connect to this VM and run the OneView Instan-On software. To do this give your laptop an IP address in the range of 192.168.42.x (not 100). Then connect through RDP with this management VM on IP address 192.168.42.100. Initial credentials are “administrator” and “hpcs200HC!”
Start the counters!
I hope HP does not take into account the reading of all EULA’s from VMware and HP… 15 minutes won’t be enough 😉
Click Next.
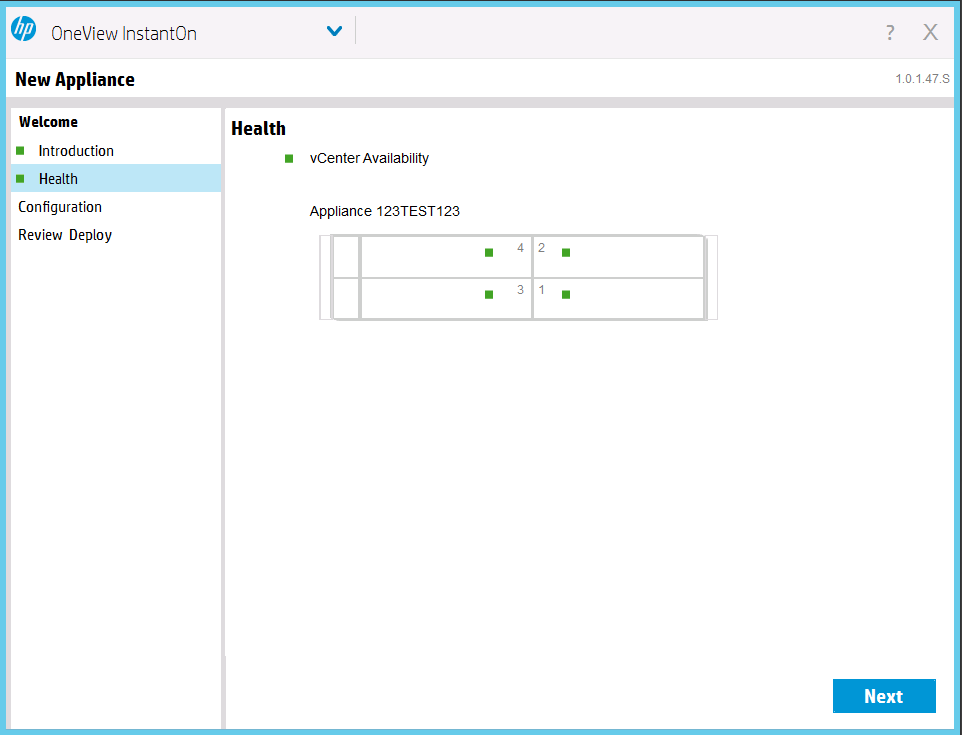
On top of the regular ESXs 5.5 HP-branded image, HP installs an additional DA (Discovery Agent) that will be used for the initial configuration. The green bullets proofs that the OneView Instant-On software can communicate with these DA agents… Also the vCenter server is discovered as well. So we can move on by clicking Next.
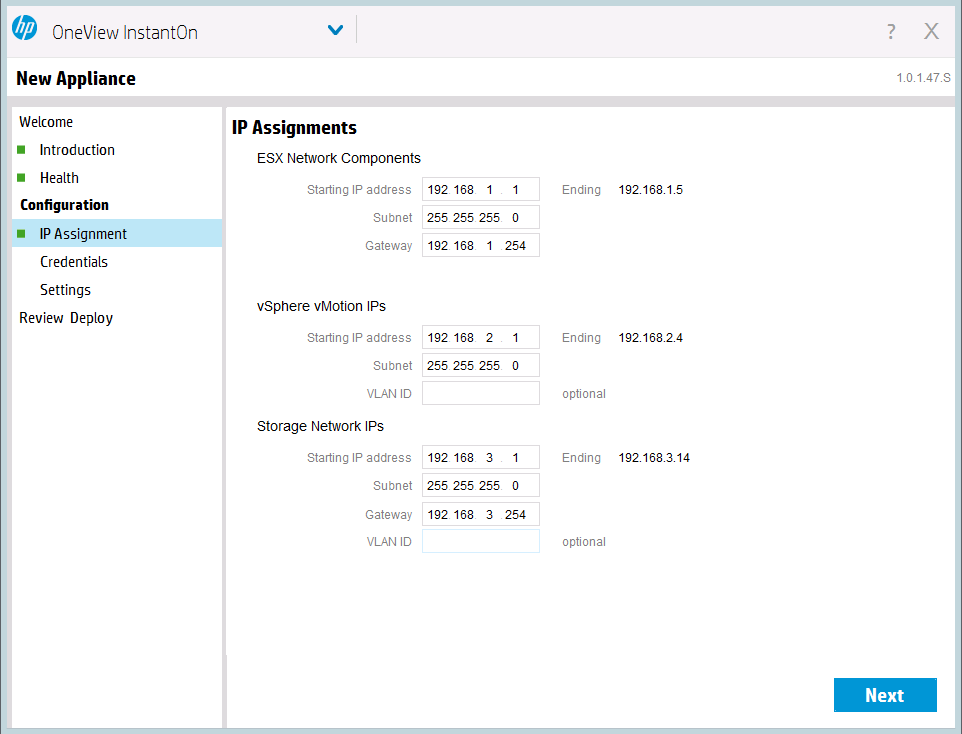
23 IP addresses! That’s all you need!
– 5 for the ESXi hosts and the vCenter management server
– 4 for the vMotion kernel’s
– 14 for the iSCSI SAN networking
o 8 VMkernel ports
o 4 VSA’s
o 1 VIP address for the StoreVirtual iSCSI SAN
o 1 IP address for the Windows management VM
Easy right? Click Next!
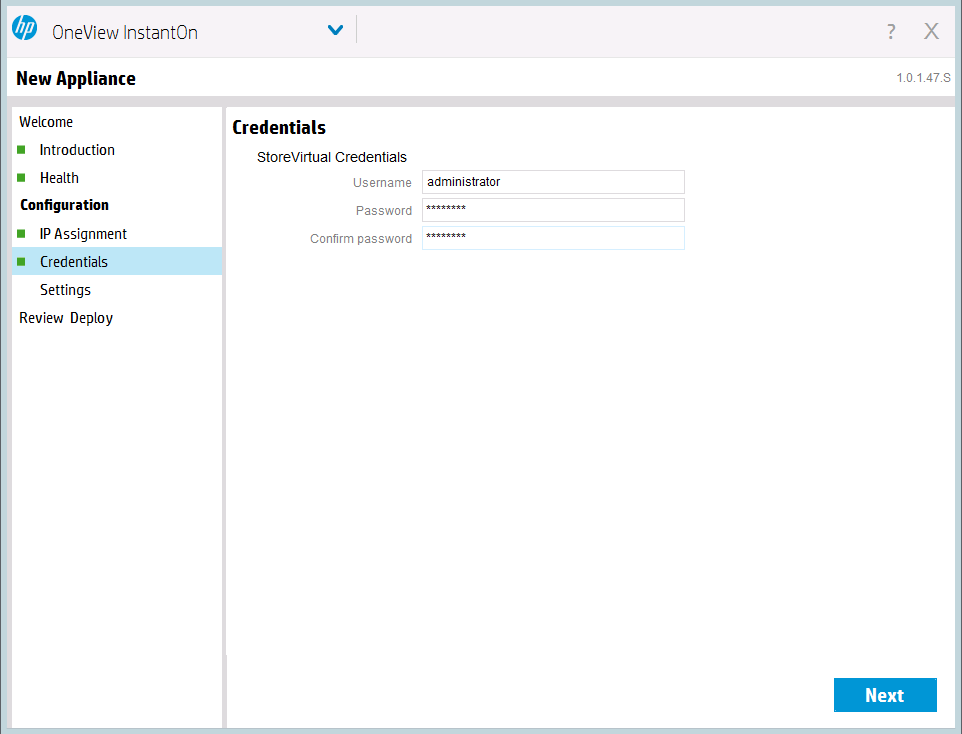
Typical question when configuring a StoreVirtual iSCSI SAN for the management group: credentials! Click Next
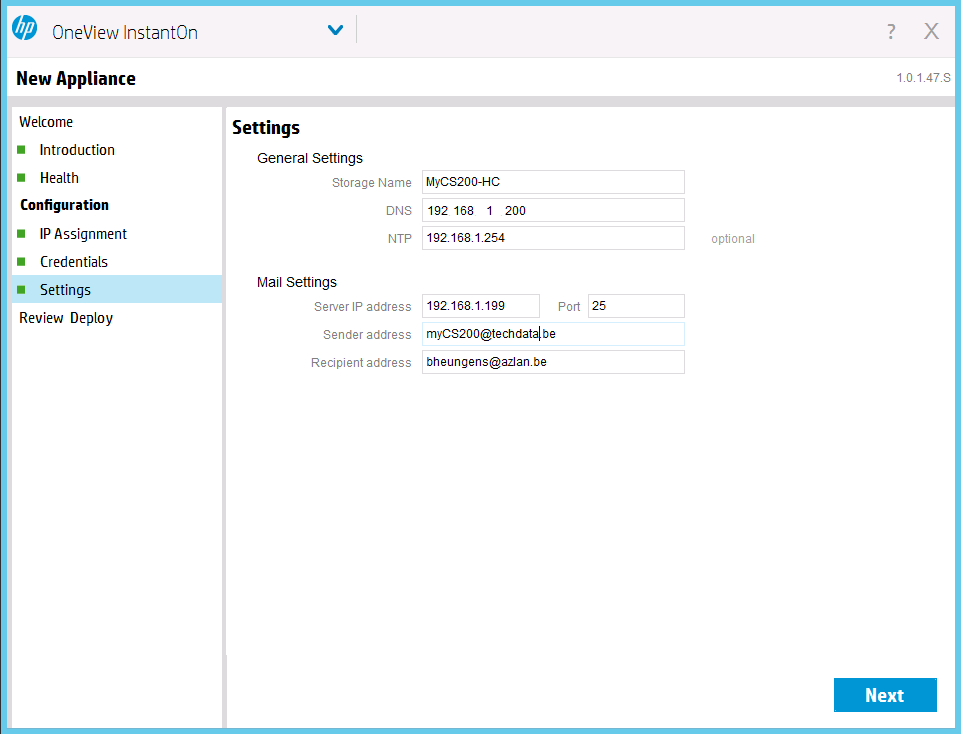
Some more general settings like DNS, NTP and mail alerting. Click Next
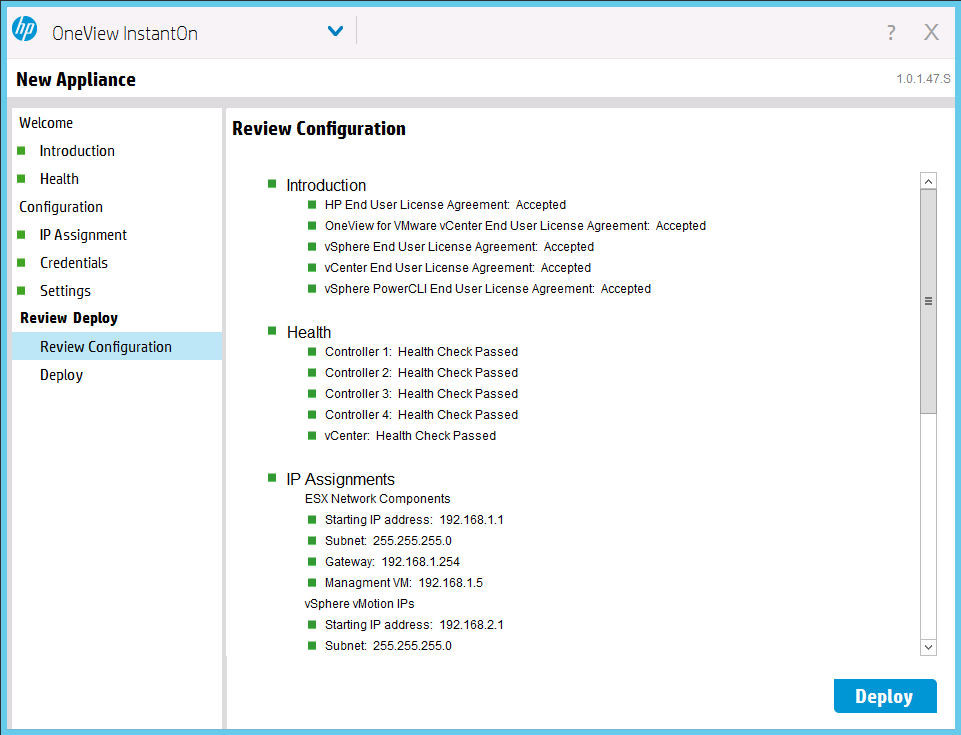
Review all entered information (verify that all bullets are green) and click Deploy.
Now the full customization will happen of the 4 ESXi hosts, the vCenter server on the Windows VM and the VSA SAN configuration. In this time the Windows management VM (which was installed locally on node 1) will be copied as well to the VSA-based SAN on the 4 nodes.
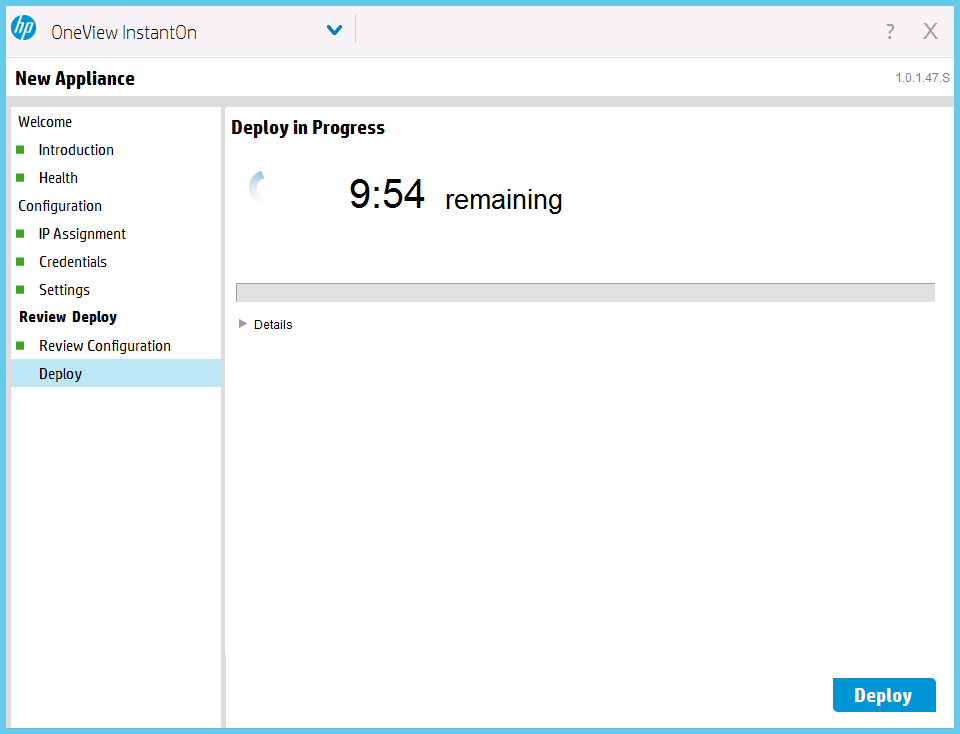
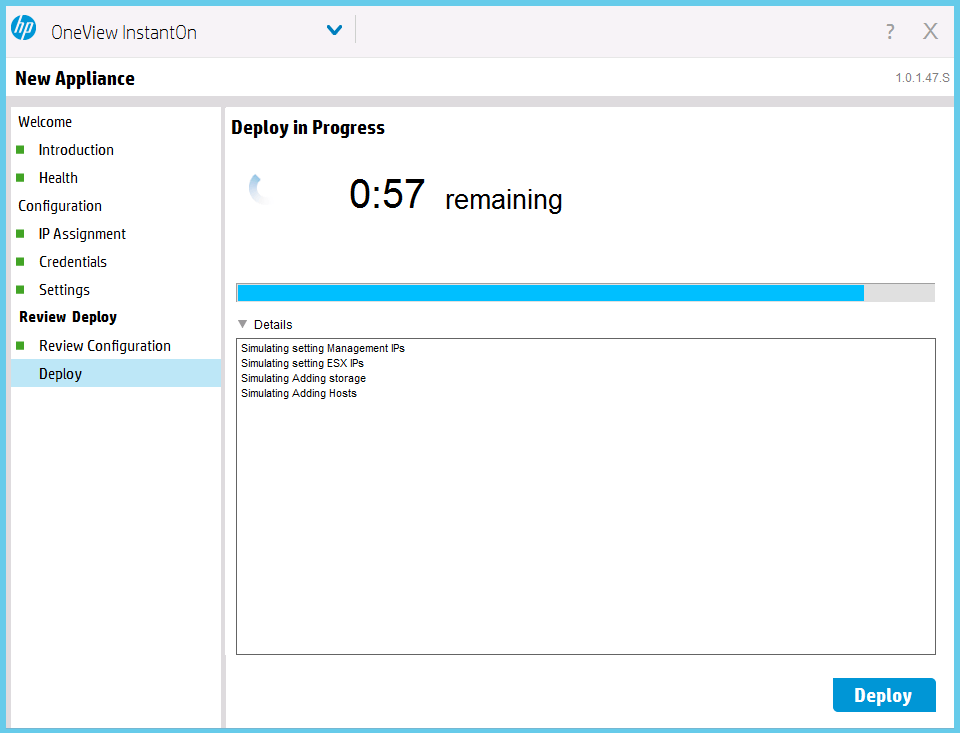
In the details pane you can follow the progress of the deployment and configuration of all the components inside the system.
And indeed (unless typing 23 IP address took really long, in less than 15 minutes this system is completely configured. With the Windows or webbased client I can connect to my vCenter and start deploying VM’s. Impressive!
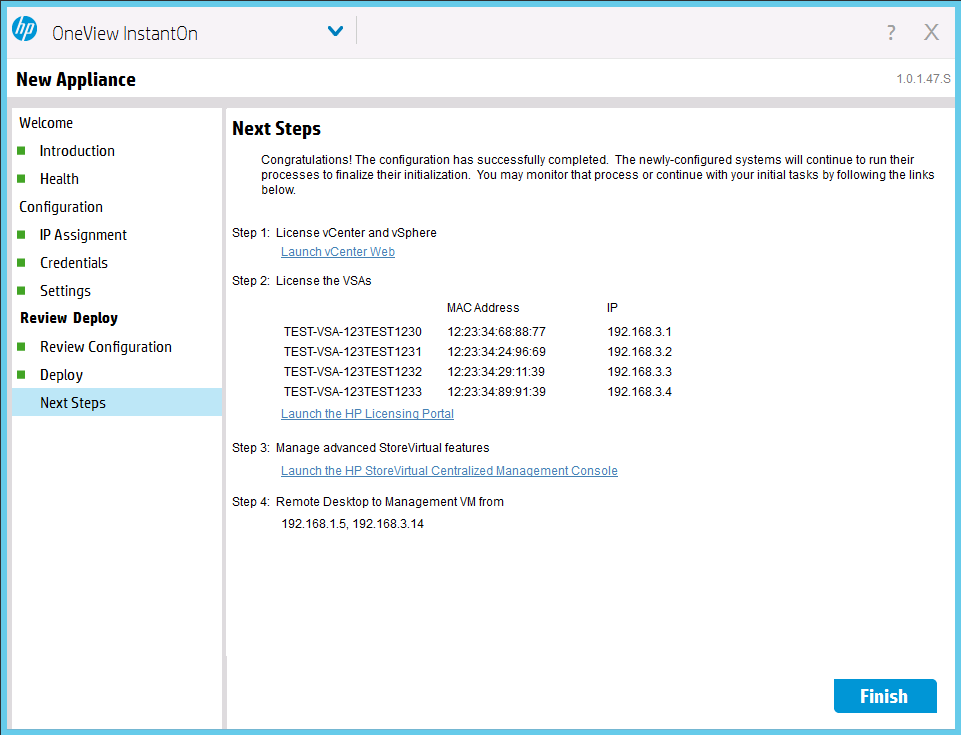
Last step is finalizing the VSA licensing by going to the HP Licensing Portal and follow the typical procedure.
This ends my deployment of the CS200-HC system. Want/need more information, you know where to find me.
More information on this system can be found on the website from HP: www.hp.com/go/storevirtual
Further there is the great blog from my fellow Calvin Zito aka HPStorageGuy
Be social and share!