With the addition of StorMagic SvSAN in the HPE Complete Program we have a replacement for the EOL LeftHand/StoreVirtual VSA solution that converts the local storage of 2 server into a shared pool of storage accessible via iSCSI. Find more details on this solution in this article on my blog.
In this post I will describe the process of the installation of the StorMagic software on vSphere, and the creation of the shared storage pool.
Preparation
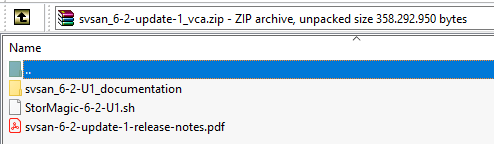
Download the StorMagic software from the StorMagic support website, or use the trial version. In this article I will install the latest version available at the moment of publication:
![]()
In the ZIP file you will find the installation script with the .sh extension.
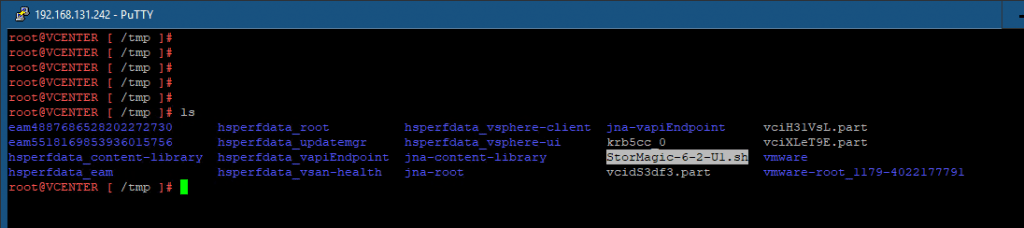
Copy the installation/upgrade script StorMagic-xxxxxx.sh to a temporary folder on the appliance.
A GUI-based tool such as WinSCP can be used to transfer the file. Don’t forget to login the appliance as root and enable access to the Bash shell of the appliance.
Set the execute bit for the user who is installing. This user must have permissions on the filesystem to install the files. To set file permissions:
![]()
Install the Plug-In
For the installer option you can use the -h option in combination with the script file:

To install the plugin, use the –install option in combination with the credentials of the VCSA appliance: ./StorMagic.sh –install <username> <password>
![]()
The installation of the plugin is finished in less than 2 minutes.
![]()
Once complete the plugin appears in vSphere Client and deployment of VSAs can be performed.

Deploy the Witness VM
I am choosing to deploy the Witness VM on a third ESXi host, know that it is also possible to install the witness on a Linux machine or as a Windows service.
Select “Deploy Witness” in the plugin page
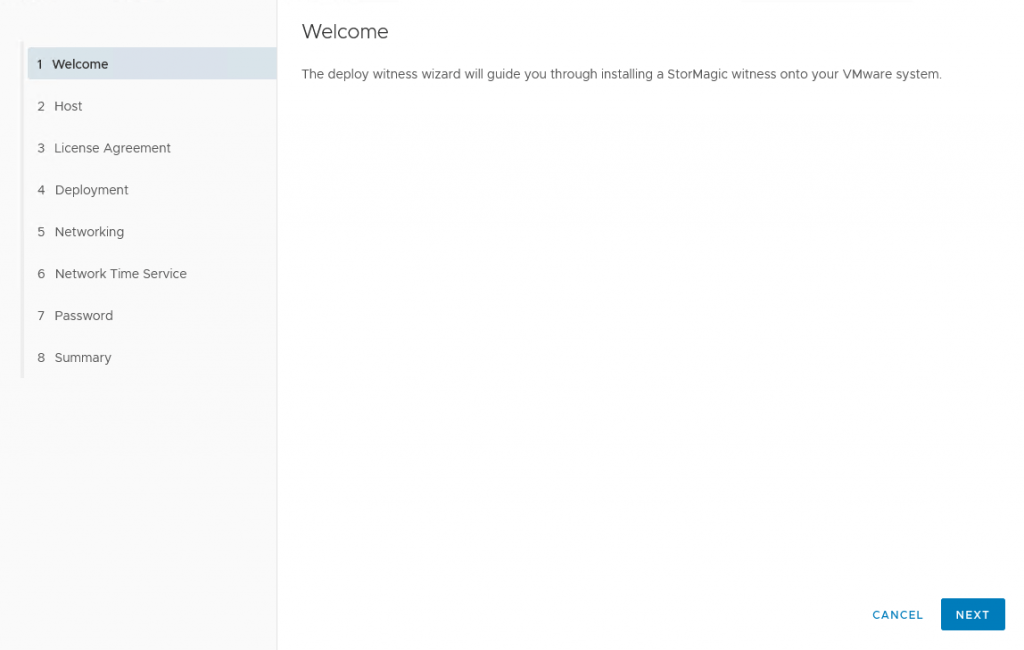
Click Next
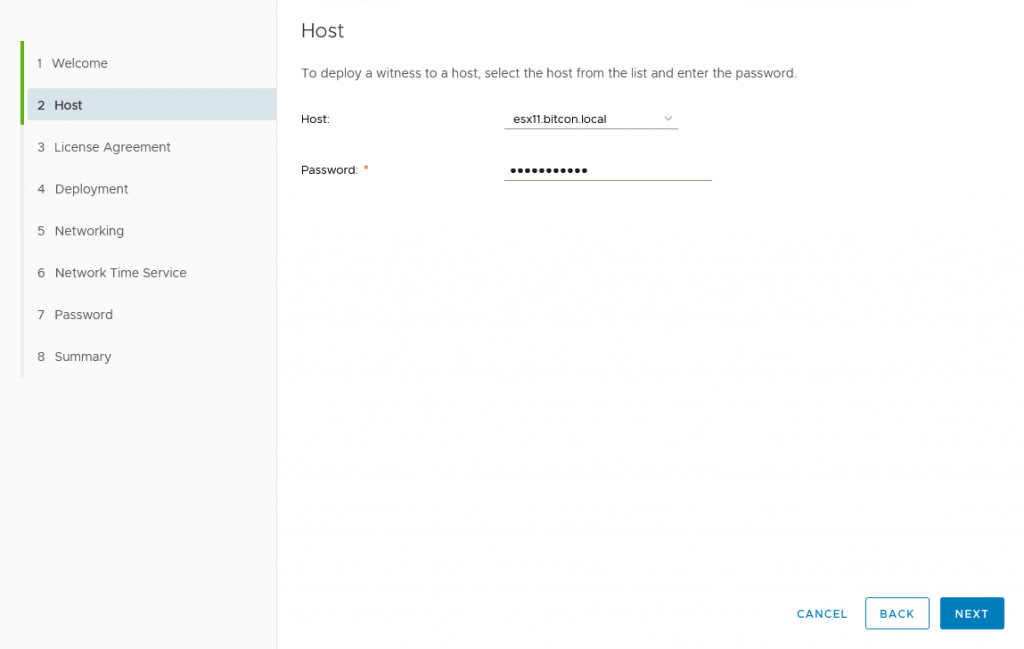
Select the host where the Witness VM needs to be deployed and enter the credentials.
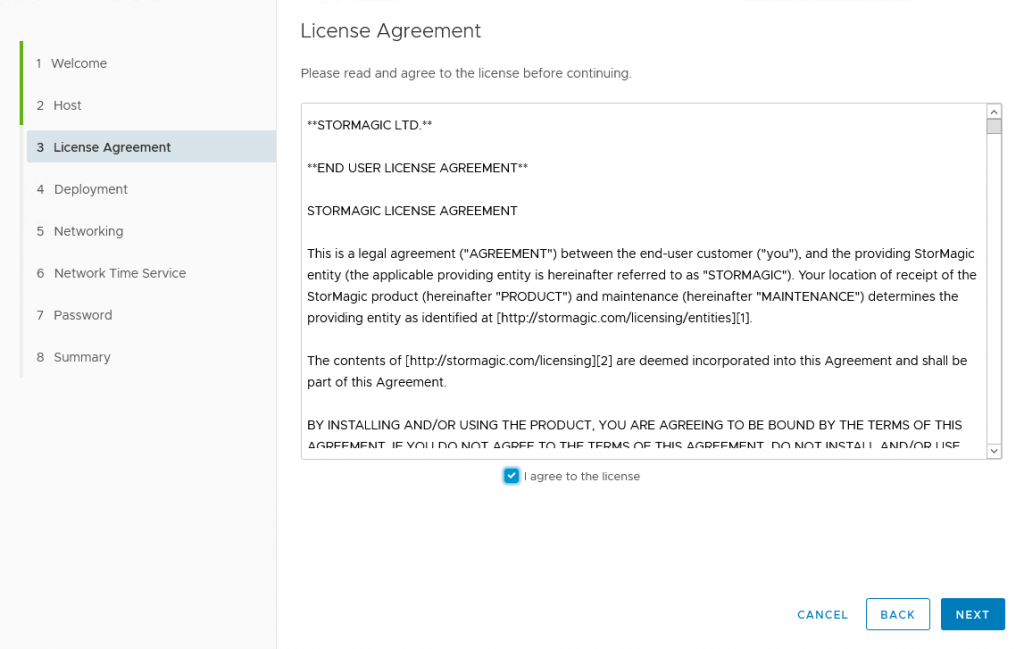
Accept the license agreement.
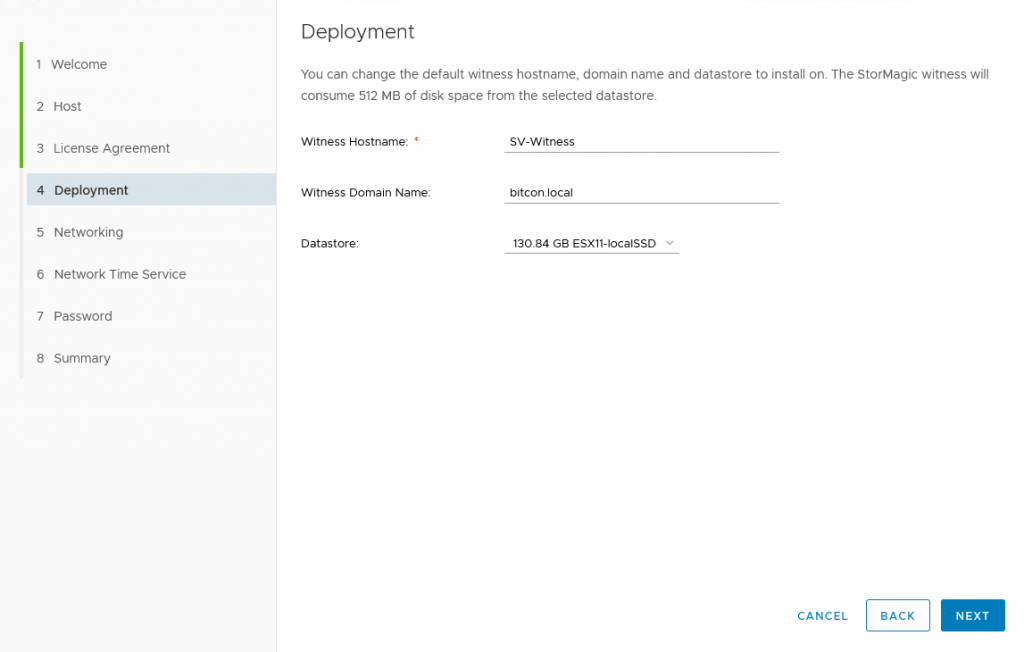
Enter the Witness hostname, domain name and datastore for deployment.
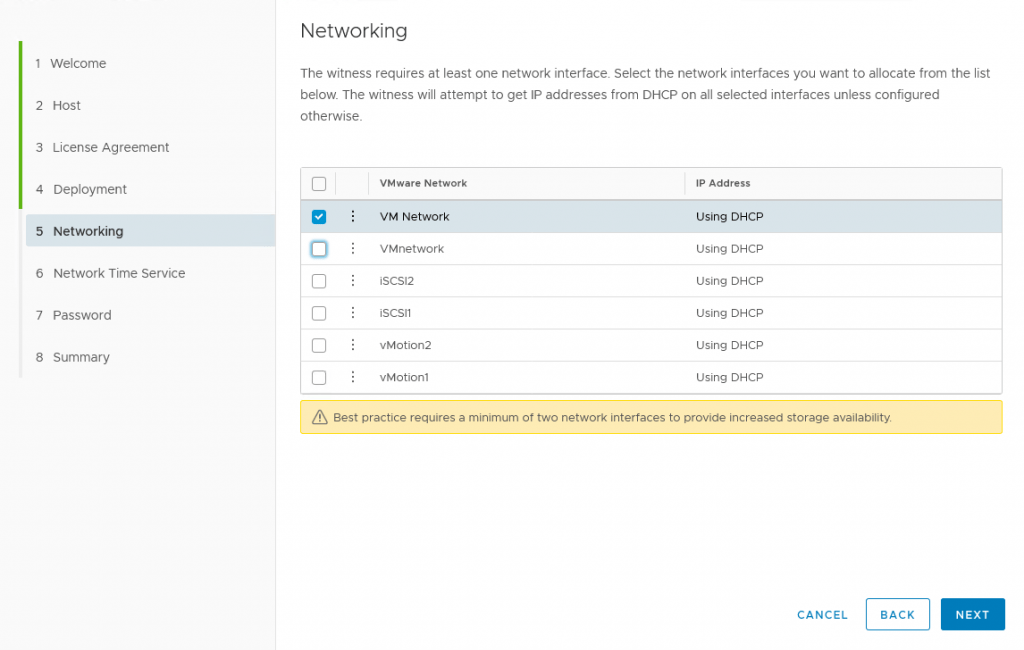
Select the VMware network for the VM.
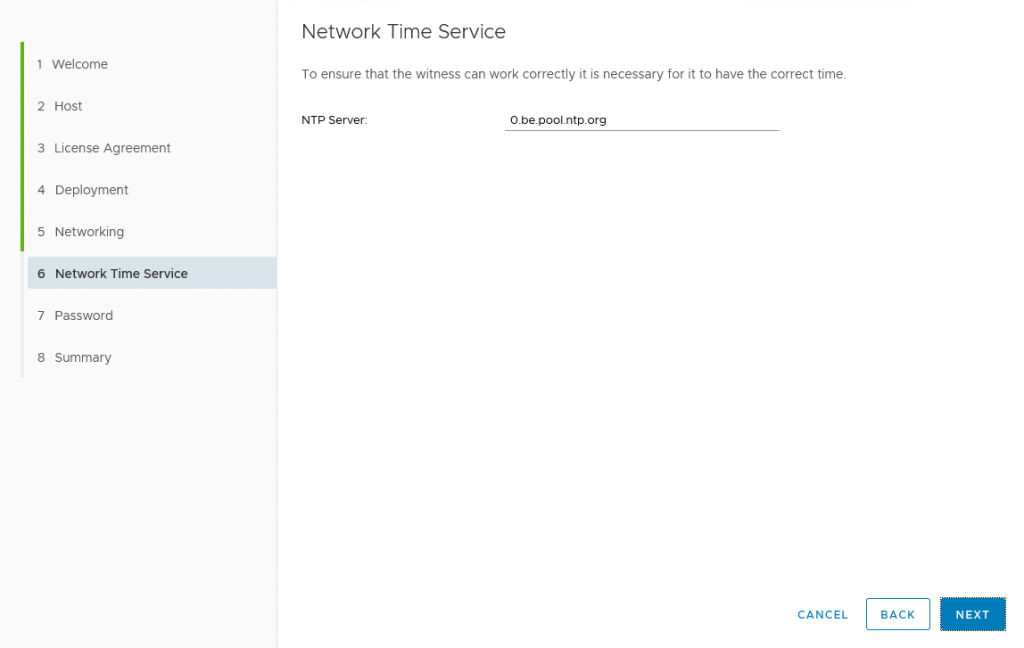
Enter the NTP server address to be used.
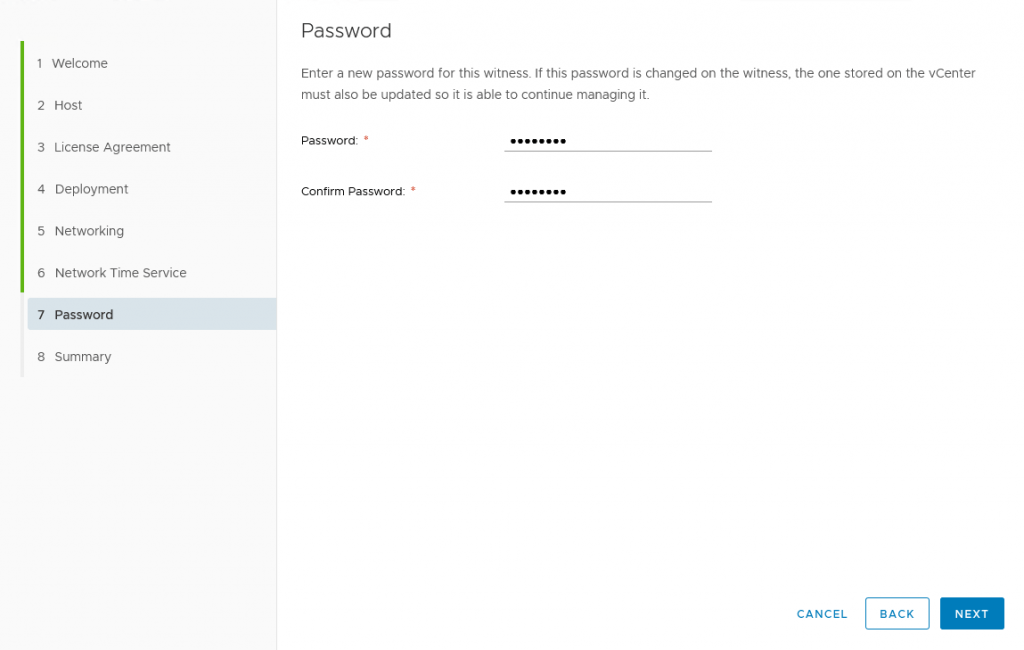
Enter the password for the admin account of the Witness.
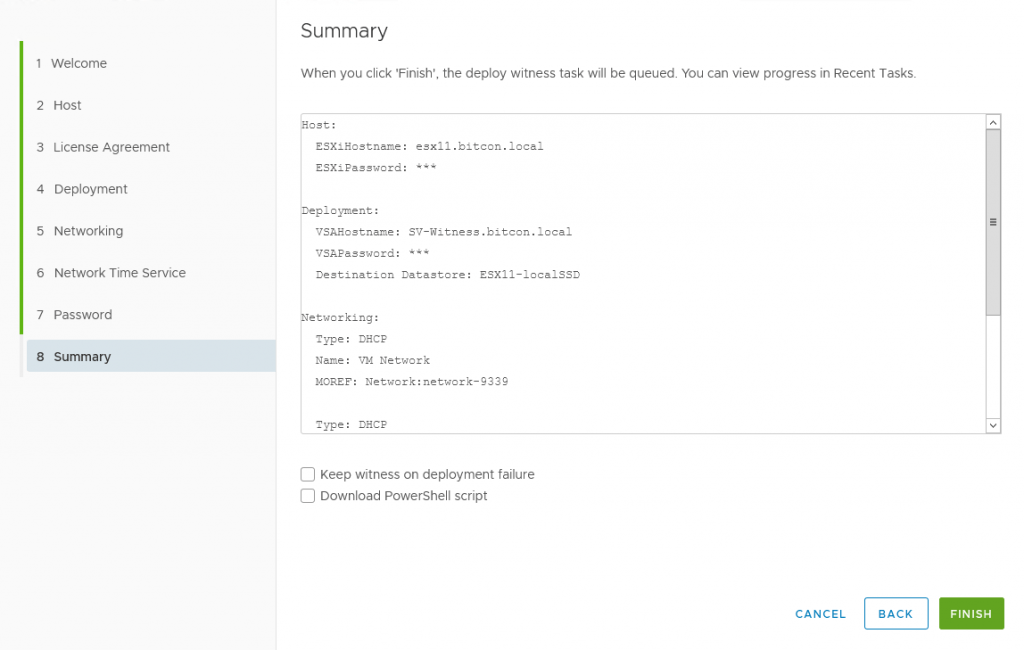
Verify the summary page and hit Finish.
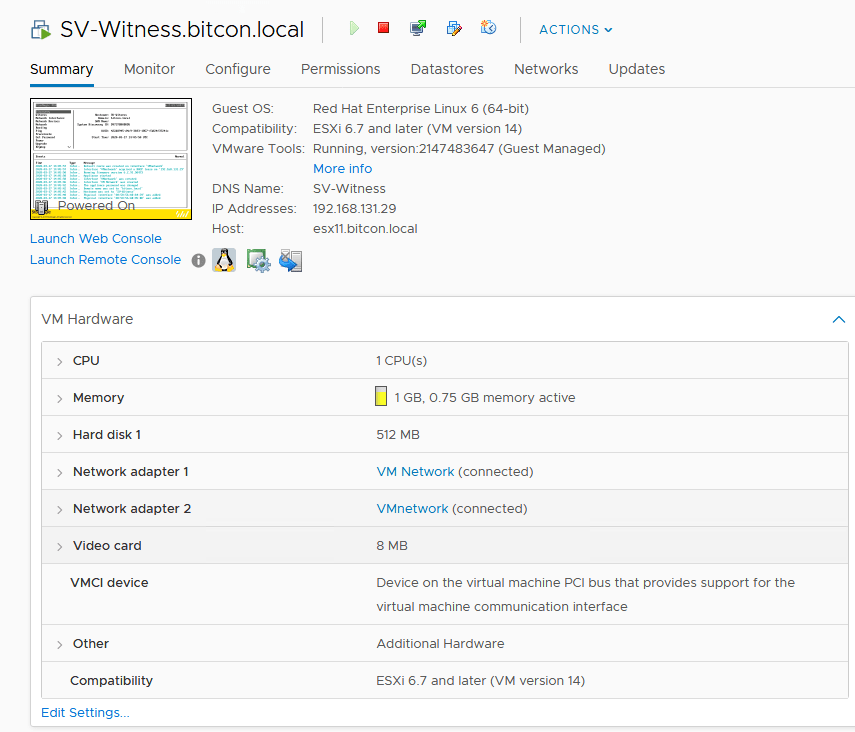
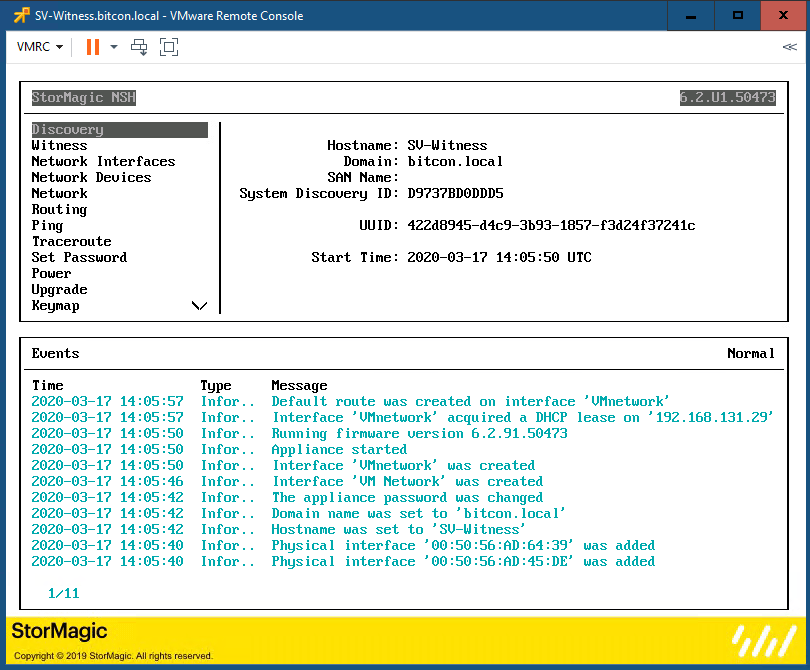
After a few minutes the Witness VM is deployed.
Install the StorMagic VSA on a storage host.
Select “Deploy a VSA onto a host” in the StorMagic plugin.
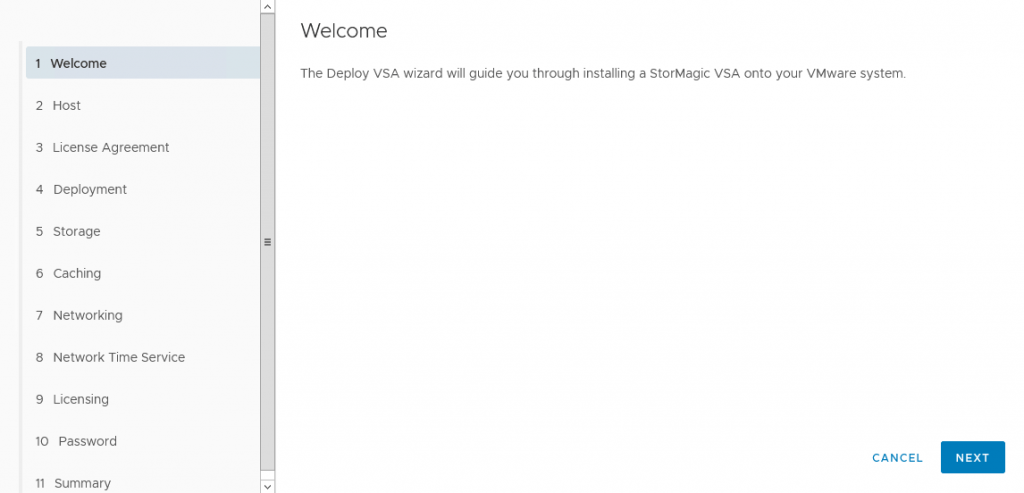
Click Next
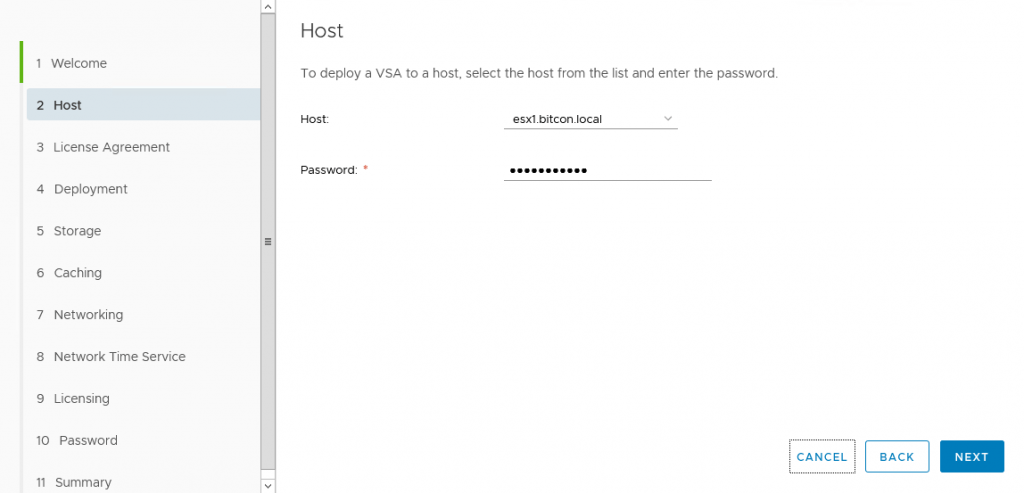
Select the host where the VSA needs to be deployed and provide the credentials.
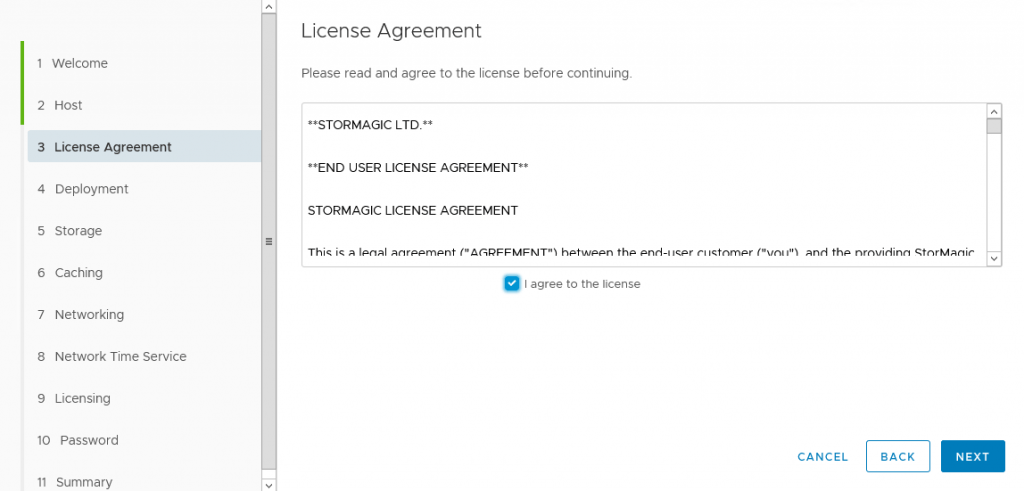
Accept the license agreement.
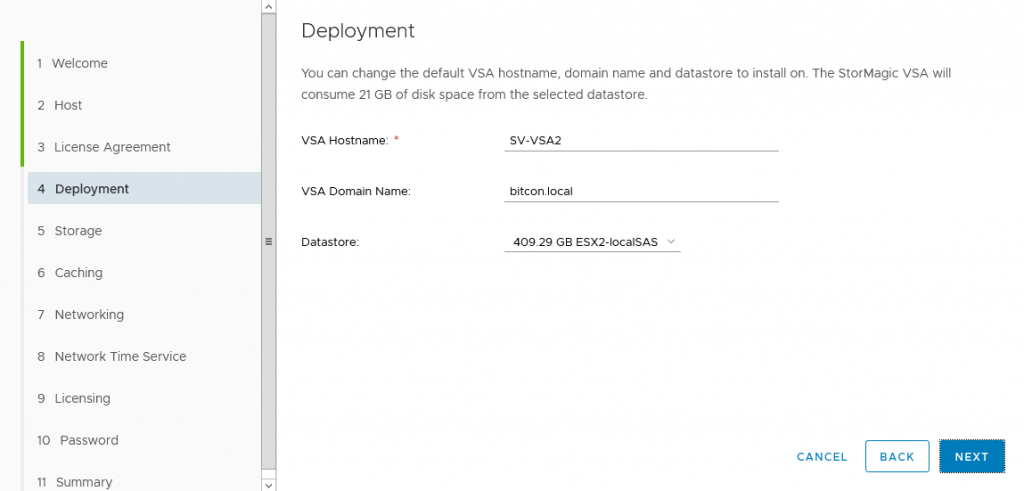
Enter the VSA hostname, domain name and datastore for deployment.

Allocate the storage for the capacity tier of the VSA. In my case I use the RDM (raw device mapping) option, you can also use a VMDK file on an existing datastore.
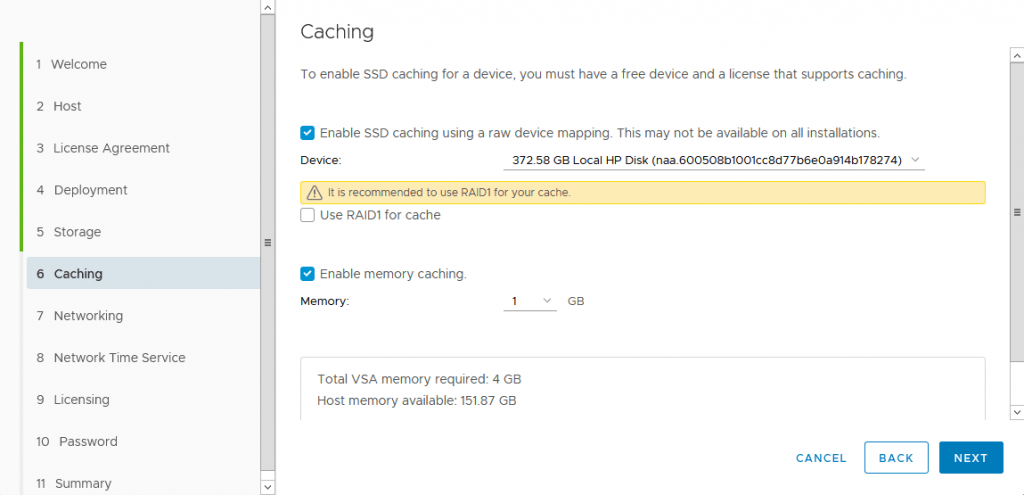
Since I am deploying a hybrid deployment with SAS and SSD drives I allocate here the storage for the caching tier of the VSA. If you are deploying an All-Flash solution with SSD only, you canskip this step.
In my case I use the RDM (raw device mapping) option, you can also use a VMDK file on an existing datastore. I don’t select RAID1 for cache since I enabled RAID1 on the hardware level inside the server.
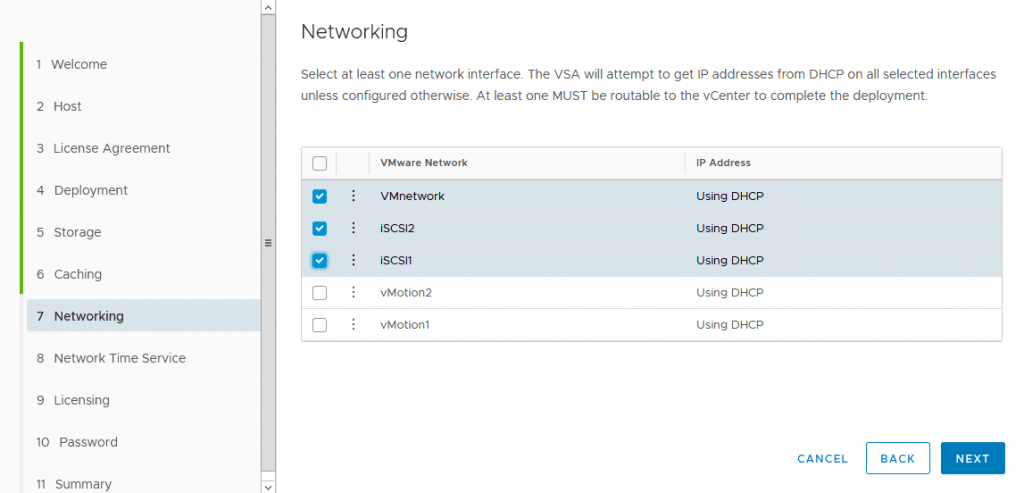
Select the networking interfaces to be used for management and storage traffic.
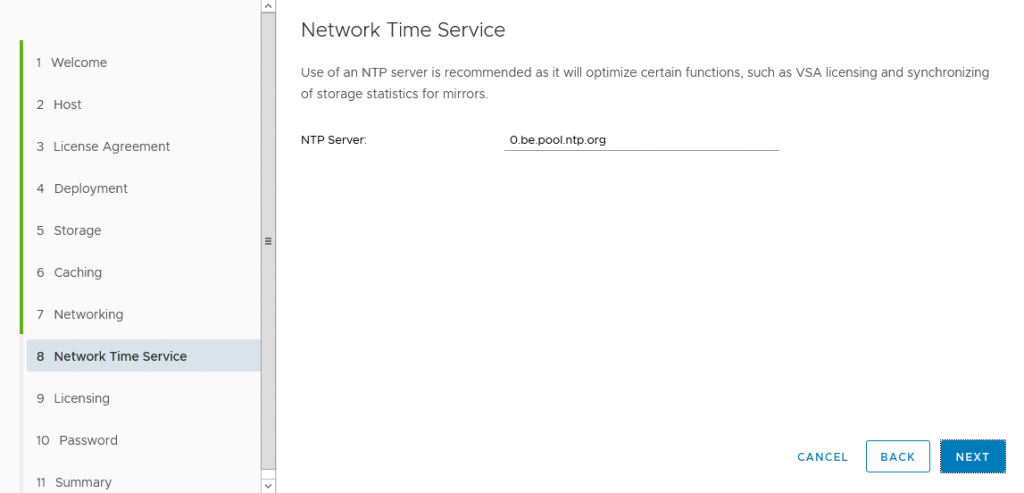
Enter the NTP server address to be used.
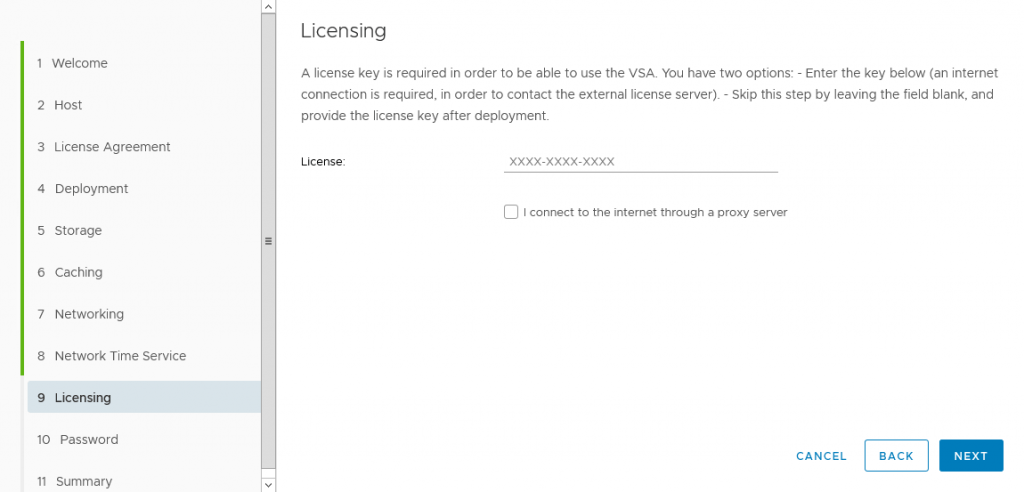
Enter the license key to be used for the VSA. This can be a trial license key received when downloading the trial software, or the license acquired with a purchase.
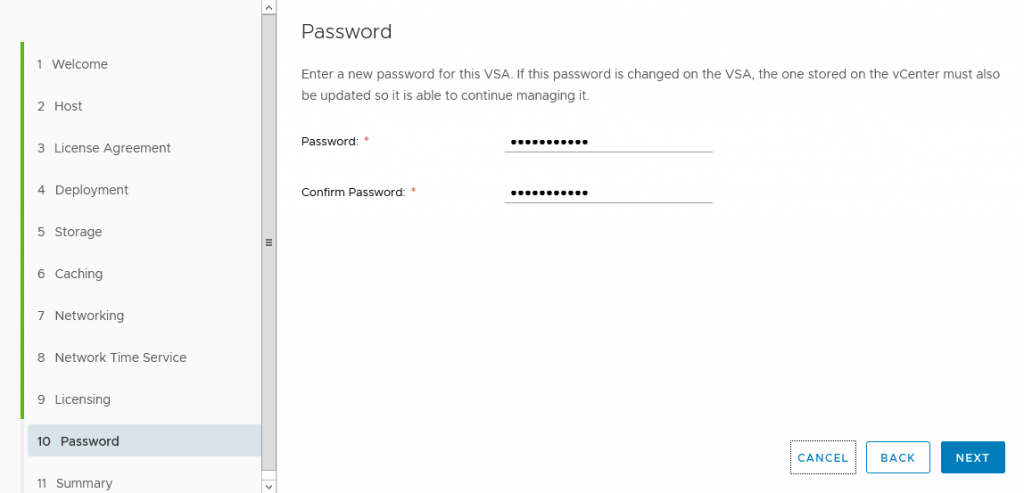
Enter the password for the admin account of the VSA.
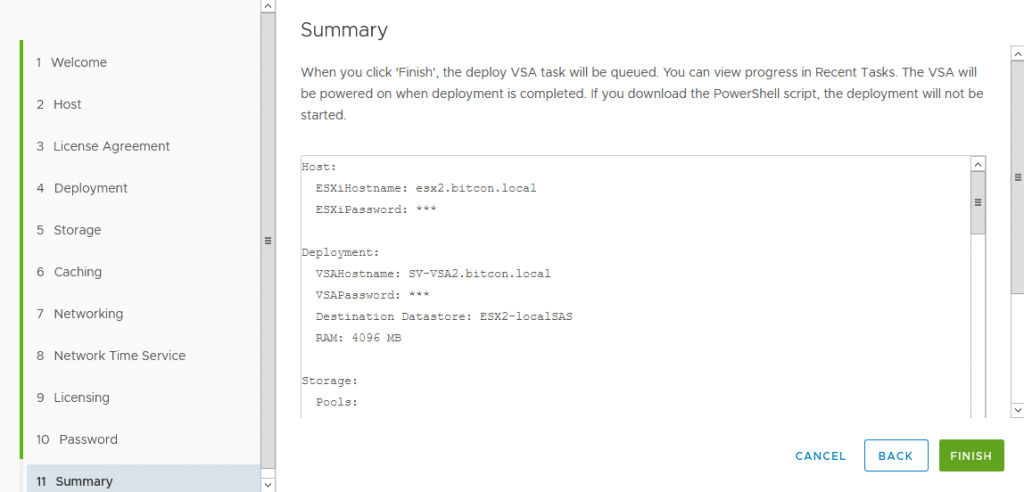
Verify the summary page and hit Finish.
After a few minutes the VSA VM is deployed. You can follow the progress in the VMware tasks pane.

Repeat this procedure for the deployment of the second VSA on the other storage host.
Volume creation
Final step is the creation of a volume and attach it to the hosts.
Select “Create a shared datastore” in the plugin.
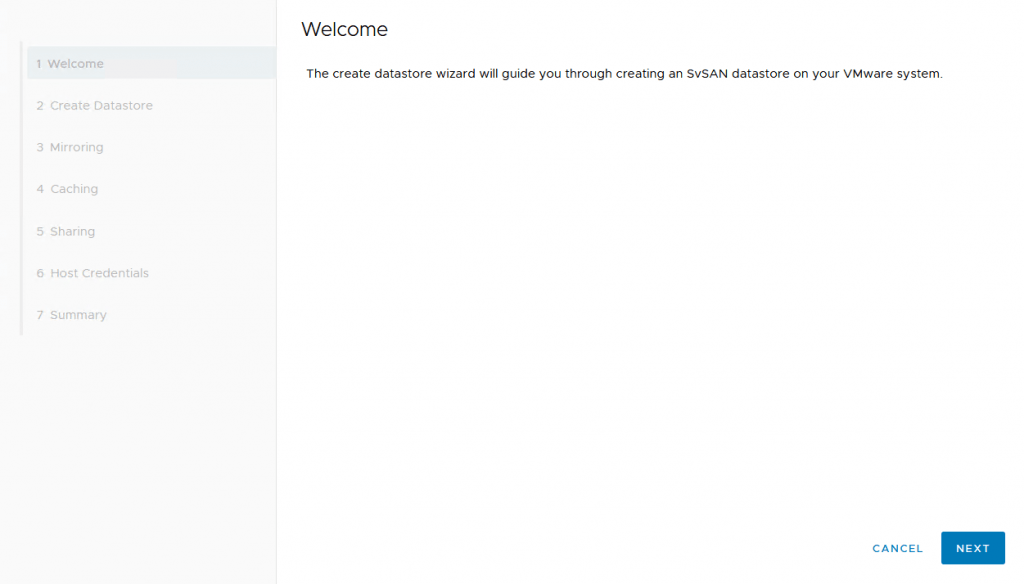
Click Next
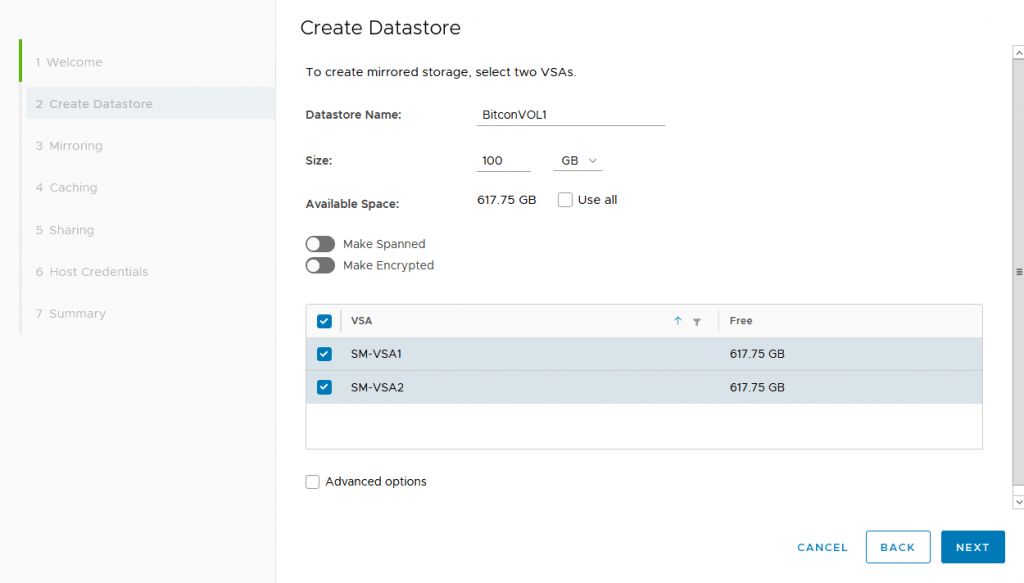
Enter the datastore name, desired capacity, and select both VSA’s if you want a mirrored volume across the 2 servers.
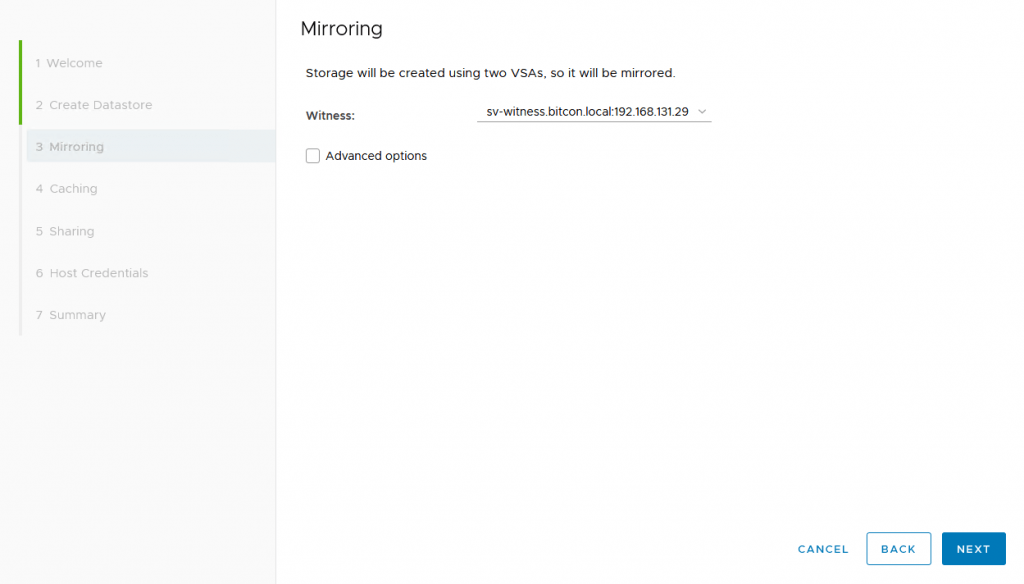
Select the Witness
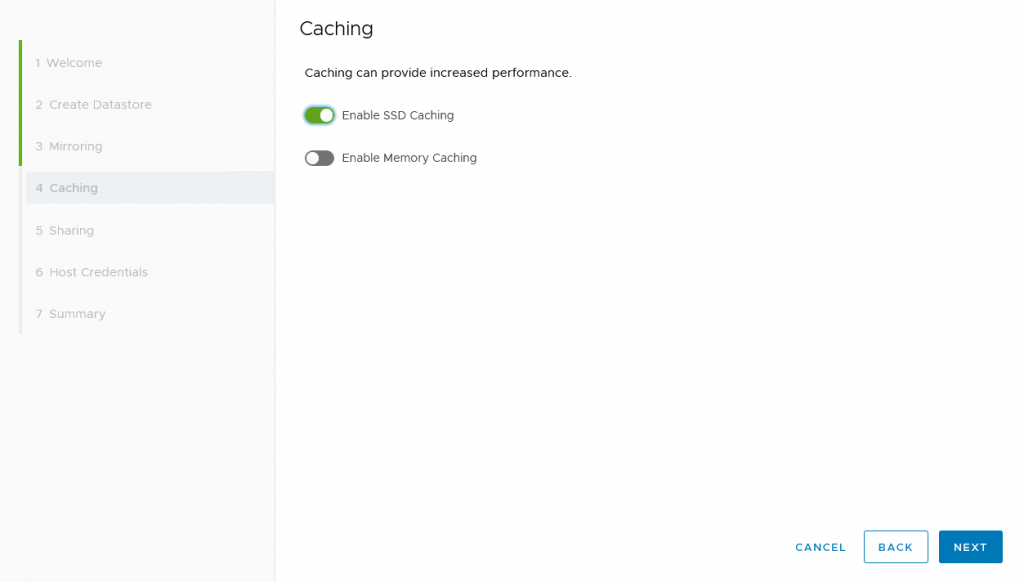
Enable SSD Caching (when the Caching tier is enabled of course)
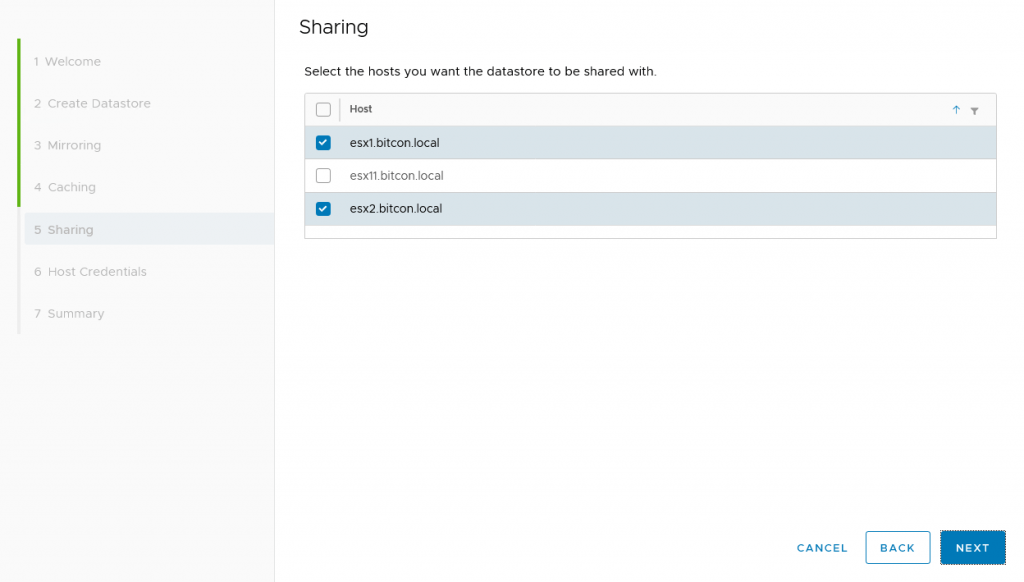
Select the hosts that need a connection to this volume
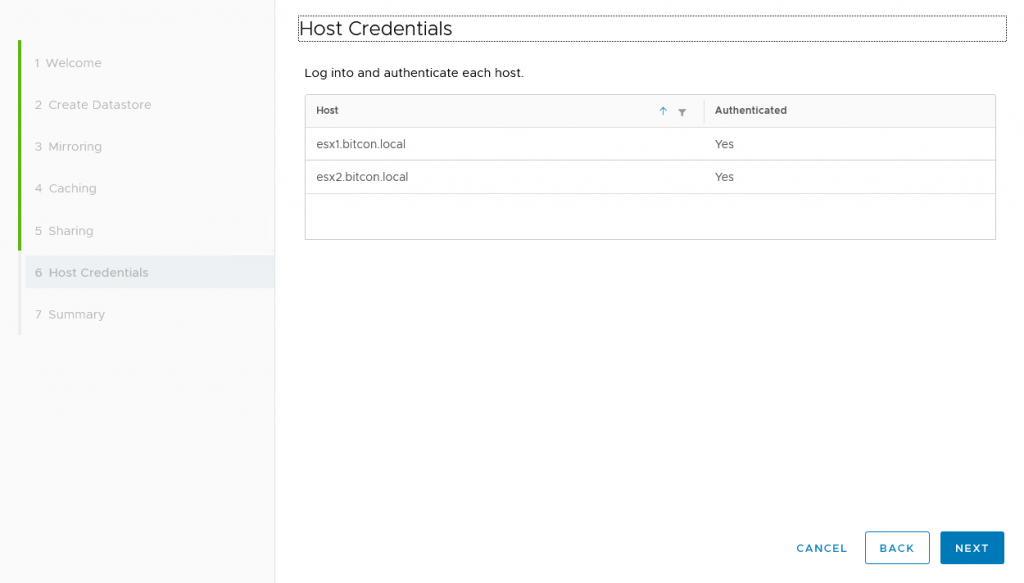
Enter the host credentials to authenticate, to enable the automatic connection of the volume to these hosts.
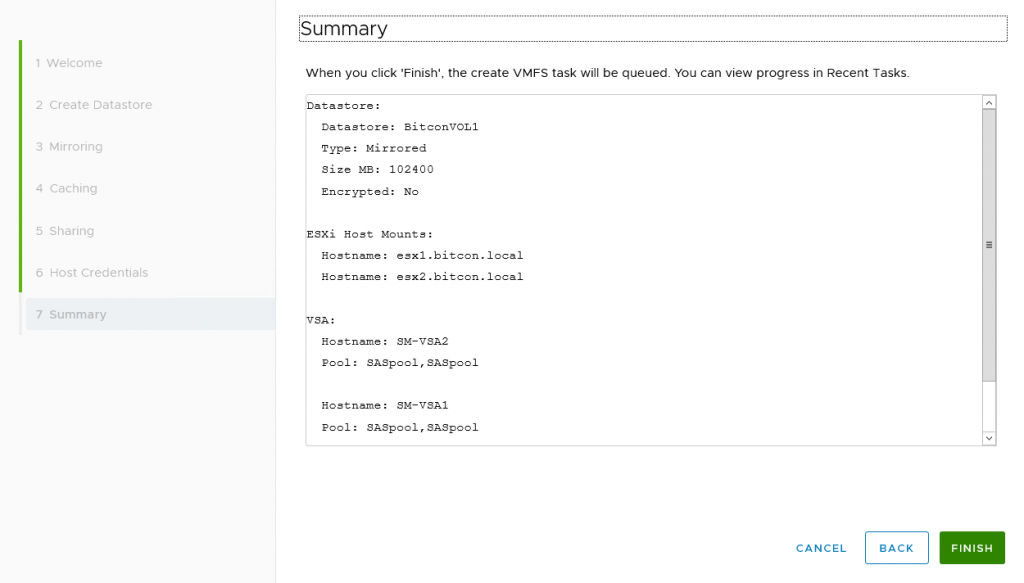
Verify the summary and hit Finish
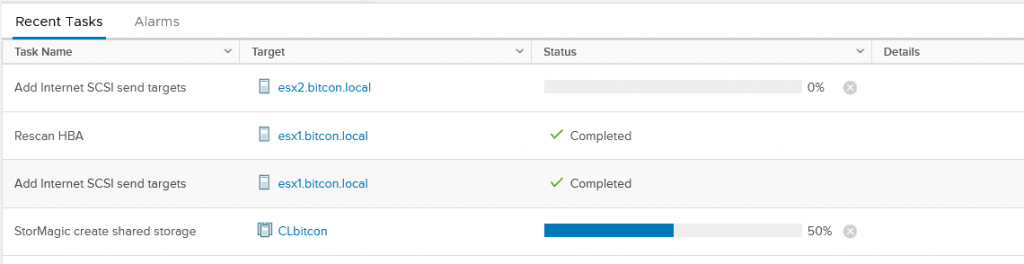
You can follow the progress in the Recent Tasks pane inside vCenter.
The volume now is ready to use on both hosts.
This How-To article tries to show the flow of the installation of the StorMagic software on a VMware host. Always verify the latest version of the deployment guide provided by StorMagic. More information can be found on the StorMagic website:
https://stormagic.com/doc/svsan/6-2-update1/Content/section-deployment-vs.htm