One of the steps during the installation of an HPE SimpliVity cluster is the installation of the required Plug-in for vCenter.
The plug-in for the Windows Server based vCenter is a rather easy Next-Next-Finish procedure, the installation for the vCenter Server Appliance (VCSA) is a bit more complex. In this article I highlight the steps to be executed.
First you need to download the software from the HPE Support site. At publication of this article the latest software version for HPE Simplivity is 4.0.1. The applicable plugin software is this one:
![]()
To install the software, you will need root access on the VCSA vCenter Server Appliance.
Log on through the WebUI on port 5480 and enable SSH login and Bash shell in the Access section
Copy the Plug-in file to the VCSA root folder
I used WinSCP, other tools can be used for this as well
Notice that the 4.0.0 file is still there as well from a previous installation.
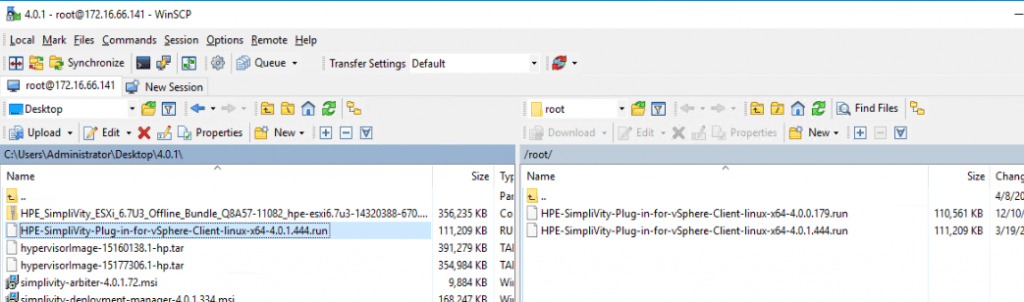
Run ls to verify the file is there
Set the Execute permission on the file you uploaded
chmod +X HPE-SimpliVity-Plug-in-for-vSphere-Client-linux-x64-4.0.1.444.run

Execute the installation file
./HPE-SimpliVity-Plug-in-for-vSphere-Client-linux-x64-4.0.1.444.run

Confirm the EULA by hitting Enter multiple times and confirm with Yes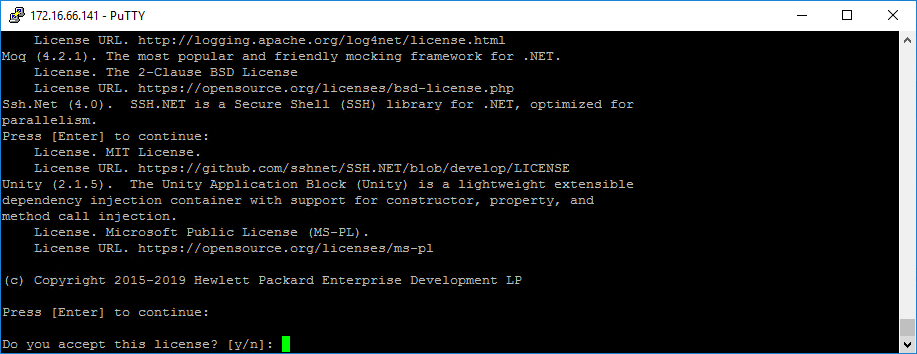
Hit Enter to accept the default installation directory
Enter the vCenter administrator account
Enter the vCenter administrator password
Enter the email address of the administrator
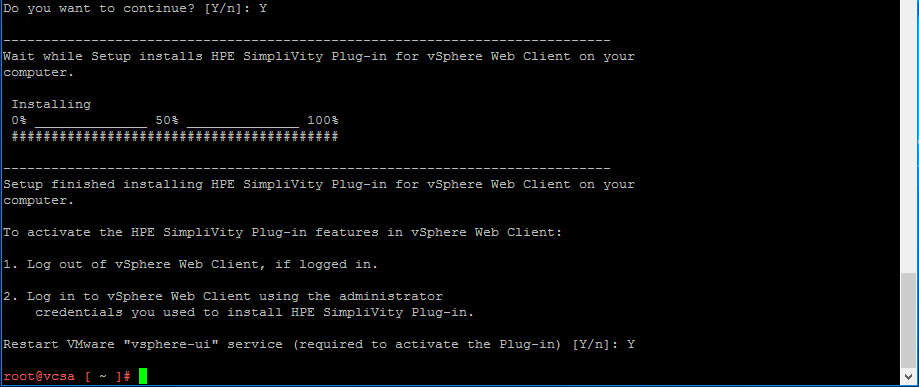
Enter Y to start the installation
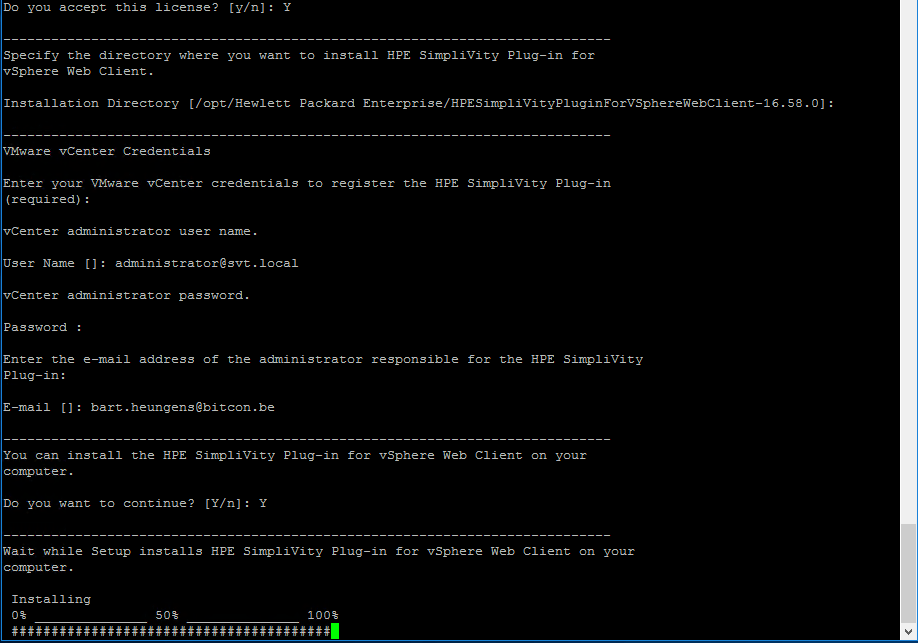
At the end of the installation the VMware vSpere-UI service will be restarted to activate the Plug-in.
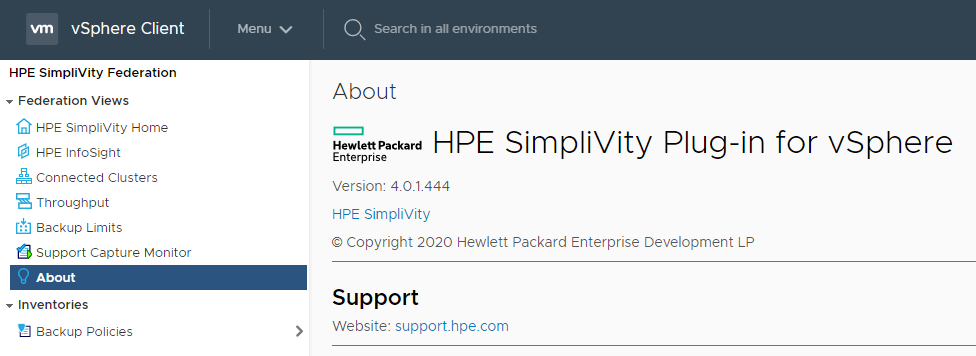
When the service is restarted you can check the Plug-in in the vCenter console. The easiest way is to open the Menu button and look for Simplivity Federation.
Upgrade
When you are upgrading the SimpliVity software to a newer version yo will need to uninstall the current plugin first before the installation of the newer plug-in version.
In my situation I had the previous version 4.0.0 installed.
For the installation you need to navigate to the installation directory of the current plug-in.
cd /opt/Hewlett\ Packard \Enterprise/HPESimpliVityPluginForVSphereClient-4.0.0.179
ls
./uninstall
Confirm with Y and hit Enter
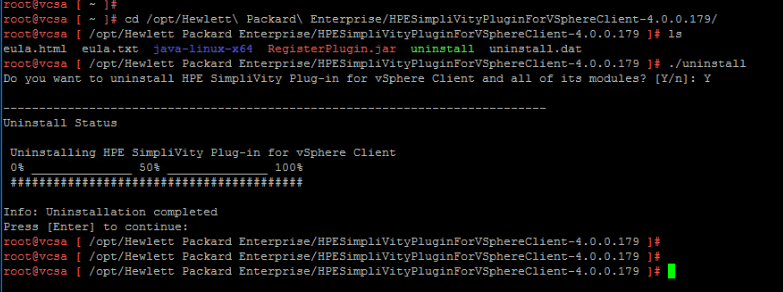
When the uninstall is completed you can start with the installation of the new version of the plug-in by using the procedure shown above.
Be social and share!