With the release of OneView 3.0 comes also the initial release of OneView Global Dashboard. This will enable Federation of multiple OneView instances running as a VM appliance or in the new Synergy environments.
More information on Global Dashboard can be found here: www.hpe.com/products/ovglobaldashboard
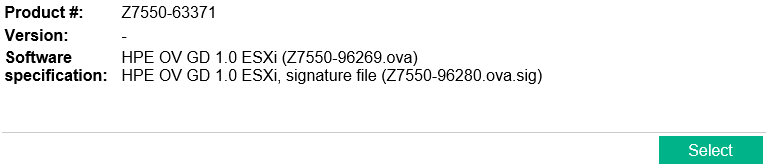
Let’s get started with Global Dashboard. First we download the bits from the HPE Software Depot.
I am not going to describe here the deployment of an OVA file inside VMware, should be quite obvious (or Google it).
After the deployment we start the virtual machine:

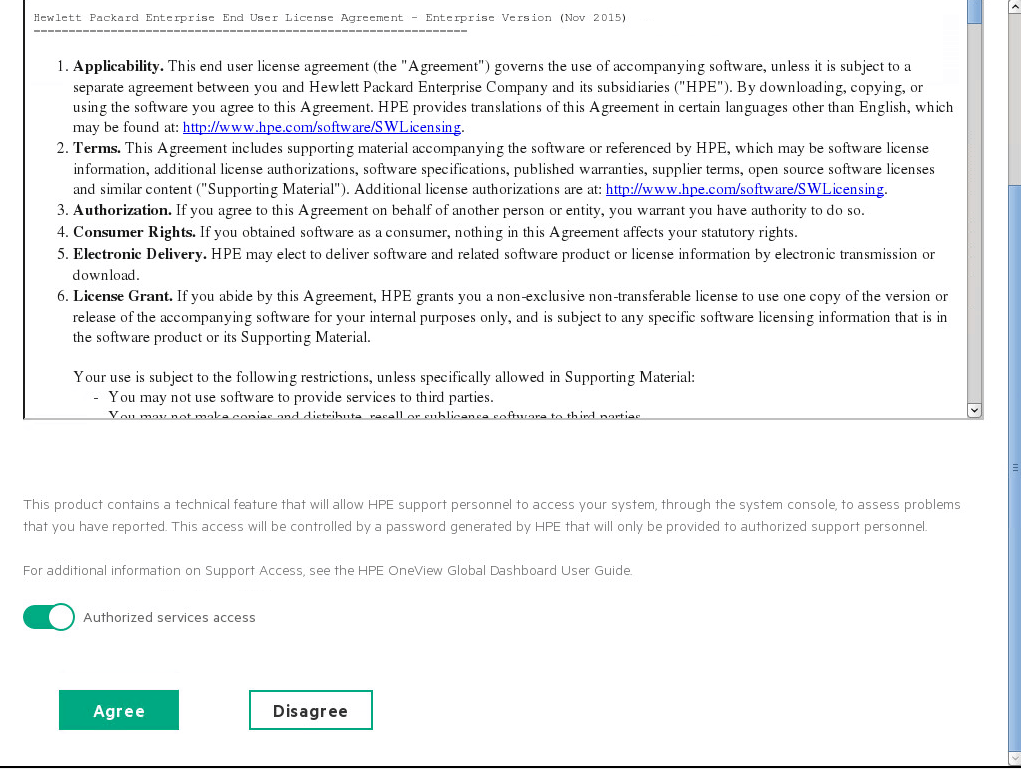
After having read the License Agreement, select Agree.
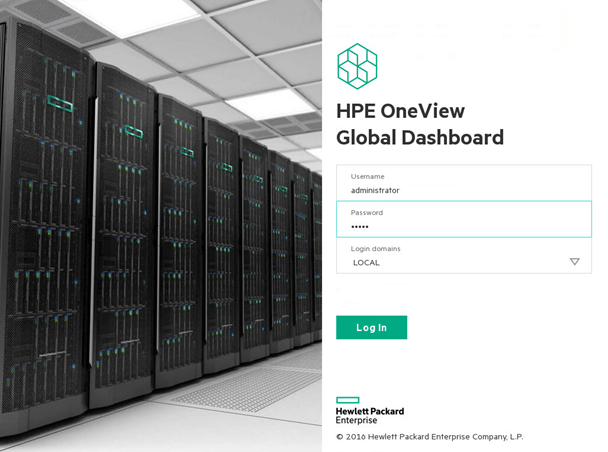
Use the default credentials administrator – admin to log in for the first time.
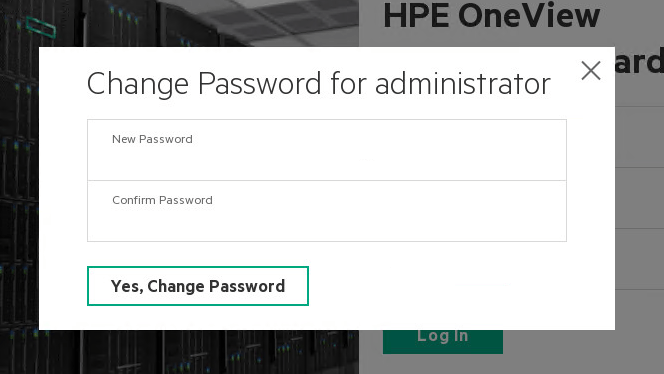
Change the default password in a self-chosen complex password.
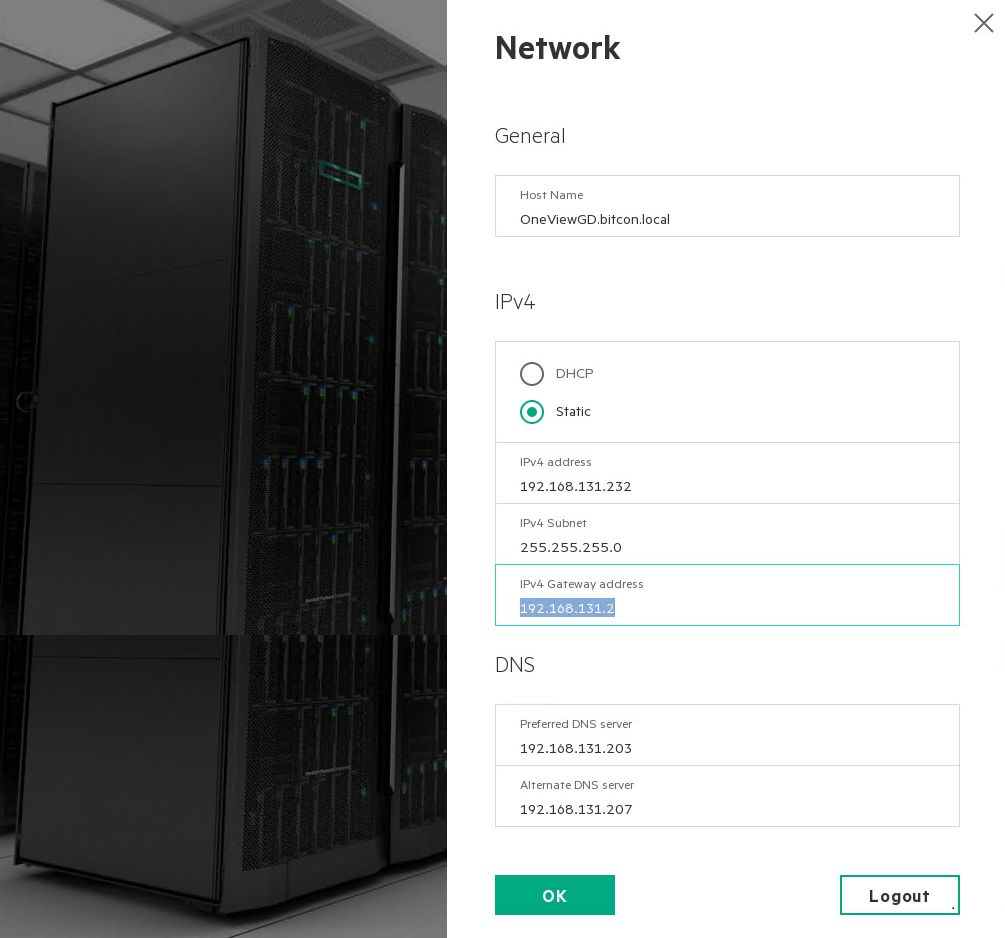
Enter all appropriate parameters for host name and network settings, and click OK

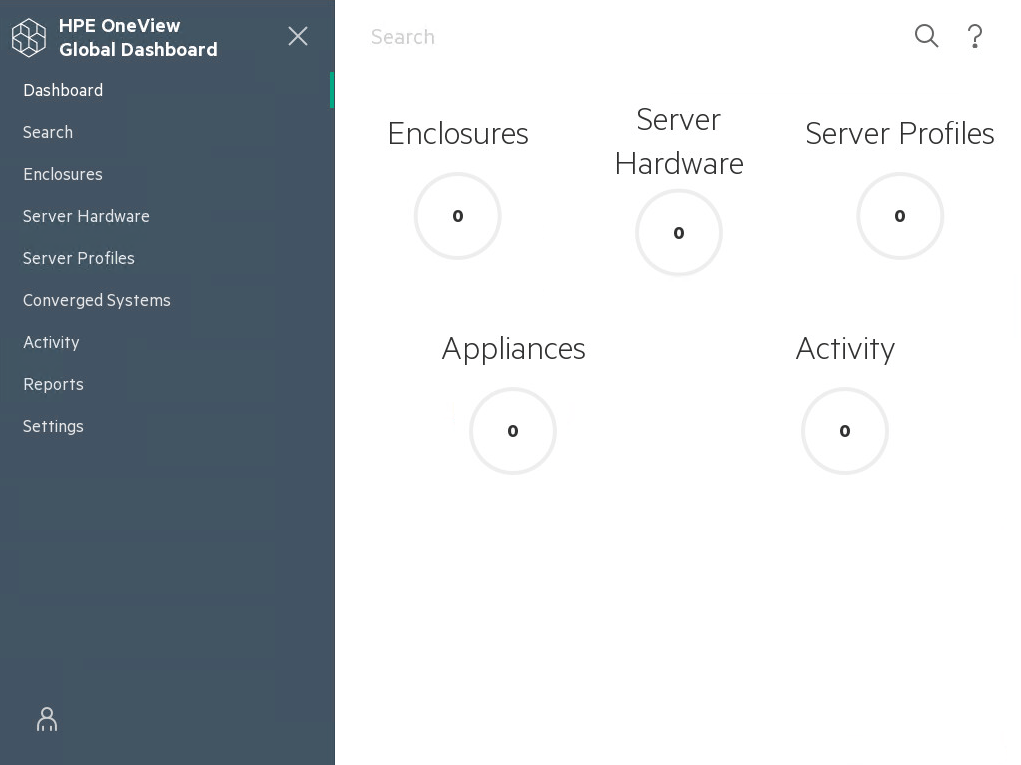
Once the network settings are finished you are redirected to the Global Dashboard instantly.
Since I own a OneView 3.0 setup managing my ‘home lab’ I will add this instance to my Global Dashboard.
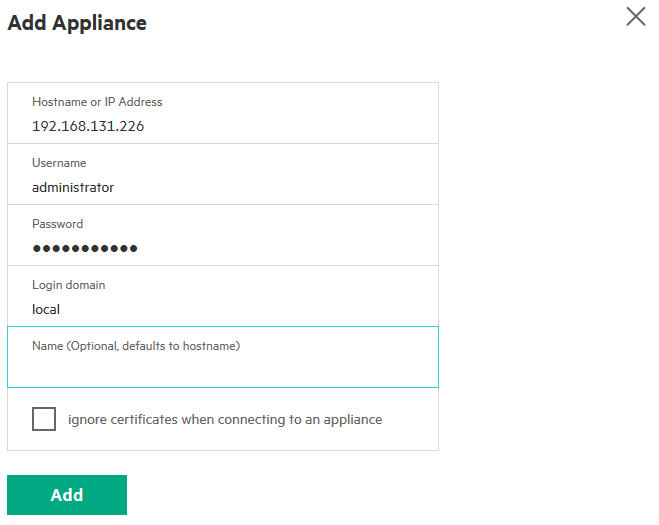
To do this go to Settings – Appliances

Enter the appropriate parameters of your OneView instance and click Add
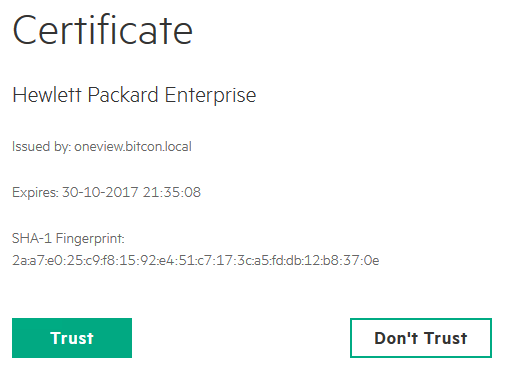
Trust the certificate when you get following message
If the connection was successful, you will get following message

Now my dashboard is already a bit more colorful.

This ends the deployment and initial configuration of OneView Global Dashboard 1.0.
Be social and share!